Online porcelain workshops
|
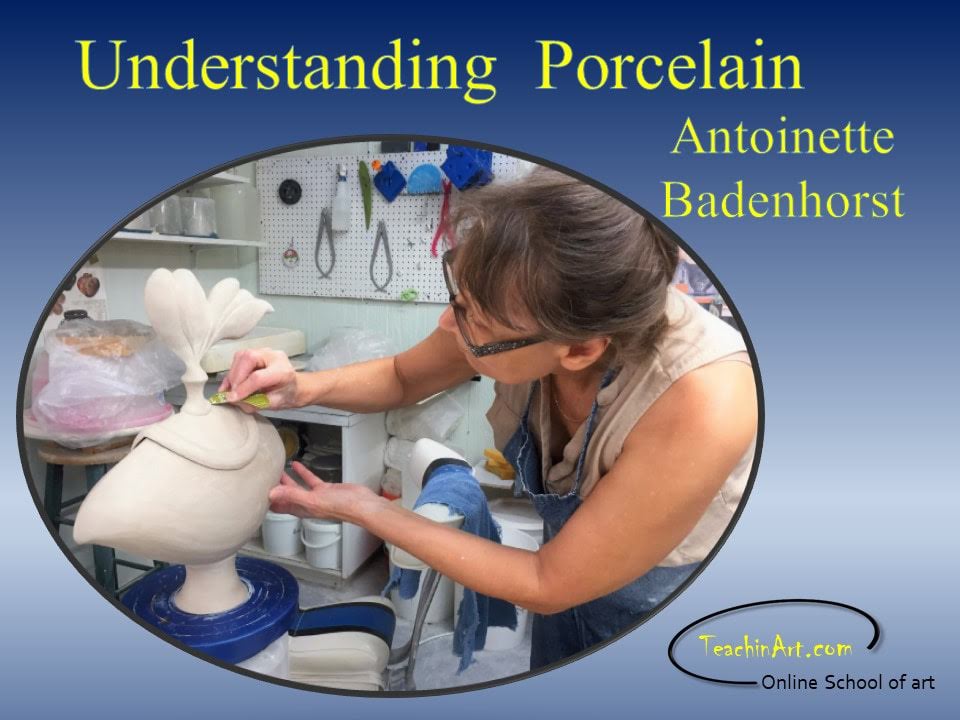
Understanding porcelainUnderstanding porcelain is a 6-week formal online workshop with an additional 4 weeks for viewing all the videos. If you want to change from stoneware or earthenware to porcelain clay, then this virtual porcelain class, that you can attend in your own place, will give you enough information to make an easy switch.
Break the myths and begin to understand the character of porcelain in these clear, close-up and detailed video demonstrations. With direct online access to Antoinette throughout the course, potters will be assisted to easily work with porcelain clay, while pushing their own limits. Whether hand building, throwing, trimming or altering on the potter’s wheel, beginners to advanced potters will learn to work easily and successfully with the “Diva of clay” and get translucent porcelain. Antoinette explains design, firing and glazing techniques to prevent slumping and cracking and to ensure success with porcelain. Duration of class
6 weeks formal video classes, 4 weeks reviewing 10 weeks total viewing |
Contents of the class
|
Week 1 - Introduction to pottery clay
An overview of clay
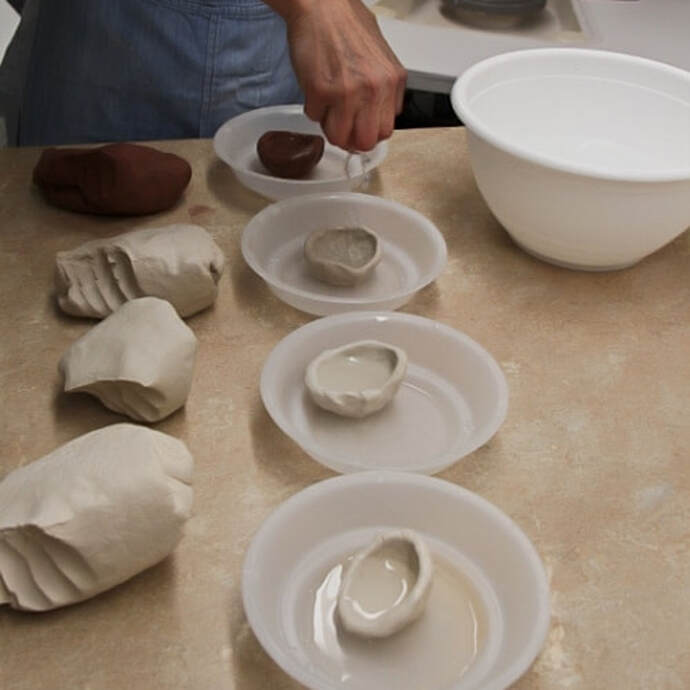
The preparation of porcelain clay to either hand build or throw with it is extremely important. If you understand the character better, you will also understand how wedging porcelain improve the quality of your clay. You will also understand the importance of clay particles and how it influences the clay process. We will discuss the topics below in detail.
|
|
|
History and Character of porcelain
Porcelain history
|
|
|
Week 2 - Get to know porcelain clay
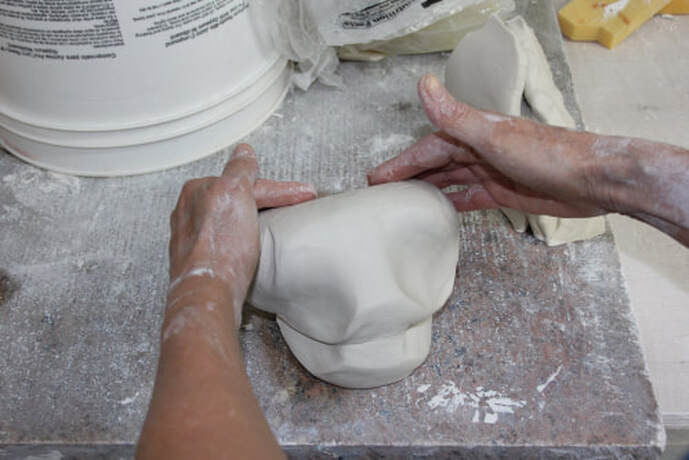
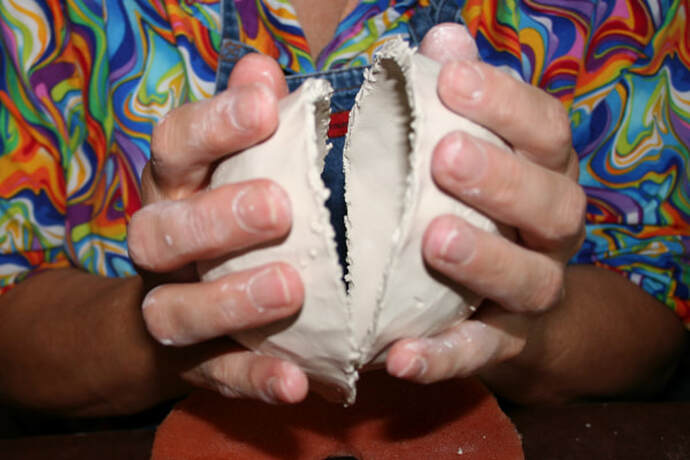
Porcelain pinching For many potters, pinching clay is a beginner’s technique, because that might have been their first experience with clay. There are potters that never learned how to pinch clay because their teacher did not see it as an important part of the clay process. This is a serious miss conception and potters that attend our e-class with us will find that out from the minute they start pinching porcelain clay. I discuss this topic in my blog Pinch pots: Is it beginners pots or a good place to start? Not only do my students learn why they have to pinch clay, but they also learn more about the character of porcelain in practice. They learn how the different stages of the process are affected by the drying of the clay and how they can control it. Students work in their own time and can therefor create as many pinch pots as they wish to. There is also an opportunity to learn how to create combination pinch pots. Combination pinch pots open up the opportunity for creating any object from a round or oval enclosed form.
|
|
Trimming and finish pinch bowl
One of the reasons why potters often choose the potters’ wheel instead of doing hand formed clay work, is because wheel work is more mechanically controlled. They feel that their work looks more professional and neater than when they hand-form an object. The truth is that they simply did not learn to create a professional finish. When they learn that they can buy or create tools that will help to obtain a professional finish, a completely new world opens up to them.
One of the reasons why potters often choose the potters’ wheel instead of doing hand formed clay work, is because wheel work is more mechanically controlled. They feel that their work looks more professional and neater than when they hand-form an object. The truth is that they simply did not learn to create a professional finish. When they learn that they can buy or create tools that will help to obtain a professional finish, a completely new world opens up to them.
- Tools used
- Get a professional finish.
- Ideas for your pinch bowl.
|
Week 3: Throwing porcelain on the potter's wheel Review week 2 (Porcelain)
Pinch pots are often considered as beginner pots, but it is actually just a good place to begin. Let’s review the successes and problems that occurred during this project. Porcelain Wheel throwing During this class we will review wheel throwing techniques as if you are a beginner potter. We will guide all potters that want to specialize in porcelain. Unless you are an experienced potter with a solid wheel throwing porcelain background, I guarantee that you will learn something during this class. Potters tend to take short cuts with stoneware and earthenware clay, because the clay is fairly easy to master and once they developed a muscle memory, they will throw on the wheel without thinking about the process. Porcelain is too demanding to ignore the very basic steps Bowl variations and more throwing |
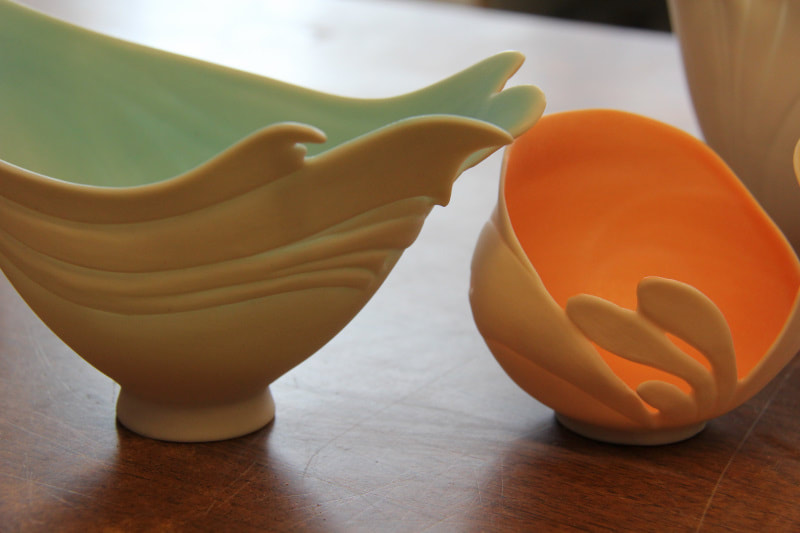
Translucent porcelain sculpted vessels by Antoinette.
|
|
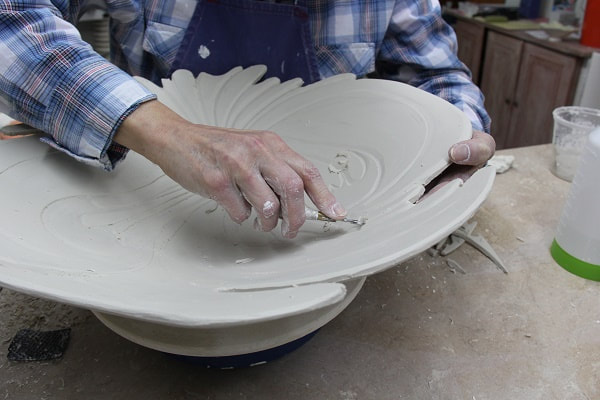
Week 4: Trimming porcelain
Trimming basics Porcelain requires very specific trimming tools for the different stages of the clay. We will work with all these tools, including those that are homemade and those that are needed for the porcelain potter. We teach trimming techniques that goes beyond traditional trimming.
|
|
Week 5: Aesthetic considerations
Elements of form
The final outcome of porcelain objects relies strongly on the form and how the form works in the firing. We discuss the relationship between the making and the firing process in detail.
Considerations on decoration
Decoration for translucent porcelain can be easy or intricate. We discuss how light, and shadow plays a role in the decoration of porcelain. Every line that is made on a piece of pottery creates a certain message. The potter must know what lines influences a pot and in which way.
|
Week 6: Basic Glaze and Firing
Pottery glazing Even though this is not a glazing class, it is important to have a basic understanding of glazes and how to apply it to a piece of porcelain.
Throughout the course I will enlighten the classes with samples, sketches and other interesting materials- anything that I would have used in a hands-on pottery class. |

|