|
In this video I am talking about the understanding of the characteristics of porcelain. In order to trim porcelain clay successfully, you need to know which are the different stages that the clay goes through. The Diva tends to look dry when it is in fact leather hard. The clay only begins to dry when there is a coloration, making the clay look like drying bones.
When I refer to porcelain stages, I first do that by pinching clay. Pinching is going to allow you to really understand the Diva. Another way to describe the clay is with comparing it to cheese. … First really soft mozzarella cheese, then soft gouda, then cheddar and finally parmesan. I am sure there are other cheese descriptions in-between, but never compare porcelain to cream cheese, unless you talk about a real almost slip-like clay, which is way too soft to throw with. If you are interested in learning form me please see my workshop page . There are many different ways to learn from me and if you do not find what you need, send me an email and let me know if you would like to be a host for a hands-on workshop, or if I can help you in any other way.
0 Comments
The use of paper fibers to strengthen clay is nothing new in the ceramics industry.
In the middle of the 20th century potters began to explore paper fibers in their clay, a concept that they borrowed from the building industry. Learn the value of porcelain paperclay.
Depending on the amount of paper used, fibers will act like paper mâché and give dry strength to porcelain. It makes it easy to work with, but bear in mind that although it will be strong in the making, it will be harder to smooth out and if you would like to carve it, you may need alternative methods to do that, since tools will pull the paper out.
As the paper burns out in the first firing, the bisque strength will also be lesser than regular porcelain. Porcelain is in any way by itself, weaker than stoneware clay after the bisque firing, so it needs careful handling. I have many foam “cushions” in my studio. To mix paper porcelain Mix up a thick slip that will “blob” off a spoon. The paper can be any clean paper, but toilet paper or paper mâché (100% paper) is best to use. The smoother consistency needed; more clay slip can be added. Use an electric mixer if possible to get the best blend. There is no perfect recipe, so when you test it, mix up a small amount. Try using 1/3 slip clay, with 2/3 paper for a very coarse clay. This mixture will most possibly leave holes in the bisque. ½ and ½ clay-paper ratio will be smoother, but still very coarse. 1/3 paper and 2/3 clay is a good starting point for a more traditional porcelain appearance. Make small tests, so that if you do not like to work with it, you would not have wasted your precious porcelain clay. Write your findings down. Whether you use it directly or build on that knowledge at a later stage, your notes will always be valuable. Additives to paper porcelain clay. Since you will add an organic material to your porcelain that will begin to rot in the wet clay, potters are looking for ways to preserve it. In my opinion there is no perfect way to keep it wet for long periods of time. It will definitely loose its power as the fiber begins to break down in the rotting process. Some potters add disinfectants like Dettol, tea tee oil, bleach, or dishwashing soap to their clay. Others preserve the clay in the refrigerator. All these methods will prevent the rotting smell, but it will not prevent the fibers from breaking down. The best thing to do is to mix just enough clay at a time for the project you have going. It is easy to make porcelain into a slip and it is easy to make paper pulp. Therefor it is possible to mix your paper porcelain in a very small amount of time and if you dry it out on a plaster bat, you can have it ready within an hour or two after you started making it. Keep small dry porcelain chunks handy to slake quickly and the process is as simple as making grits for breakfast!
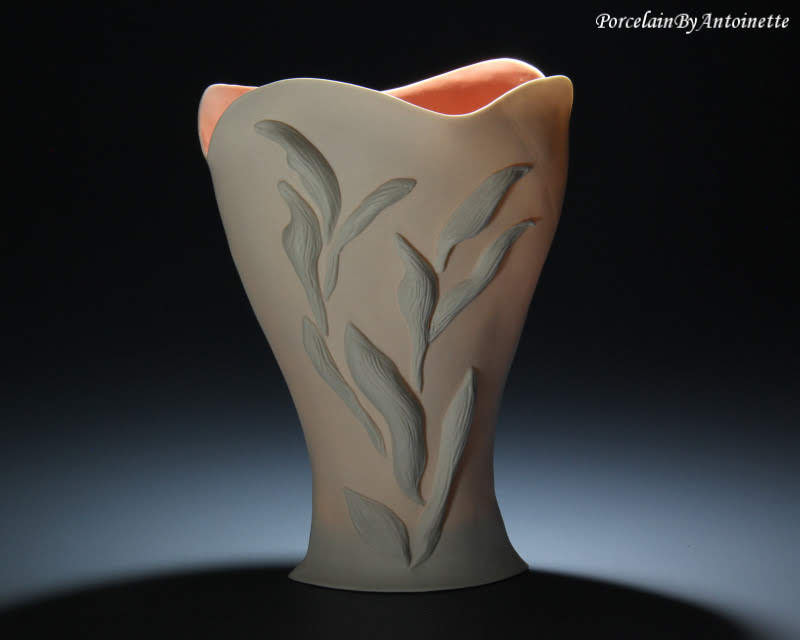
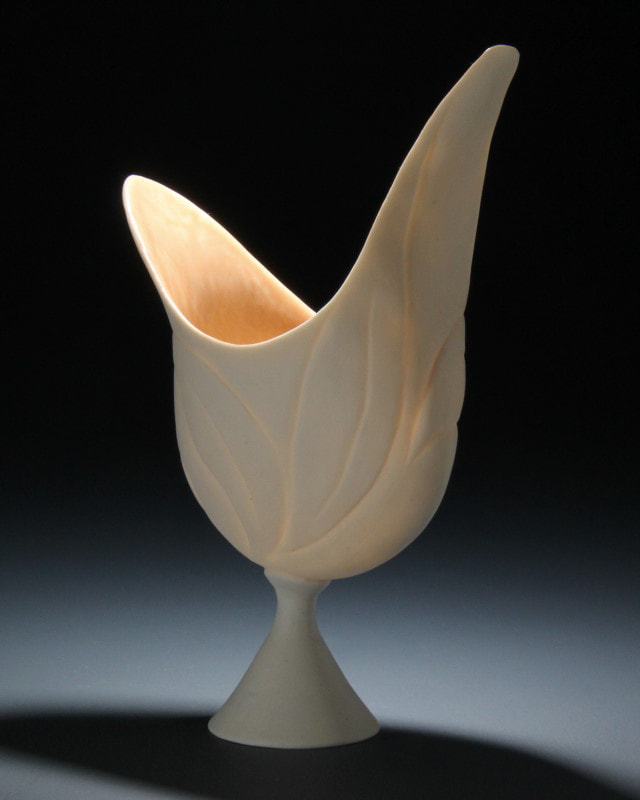
The porcelain sculpture below is made from a combination of regular porcelain and paper porcelain. Paper porcelain helps to obtain a lighter base.
Learn how Antoinette re-wet her preserved paper porcelain
It is harder to carve clean lines through paper porcelain, since the fibers may be pulled out, leaving a rugged line. For that reason Antoinette adopted a different approach when she carves in paper porcelain. The envelope below is created with a different carving method.
How to preserve your excess paper porcelain.
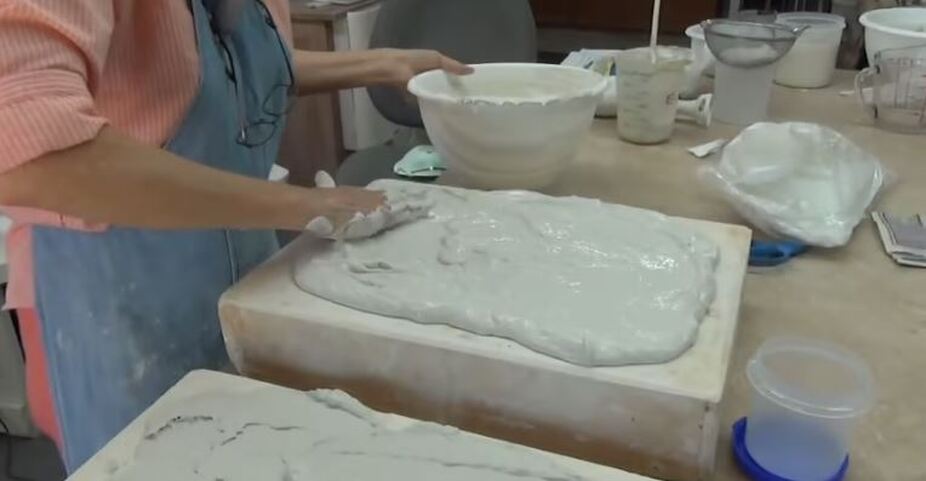
I dry my unused paper porcelain out in slabs to prevent it from forming mold and when I am ready to use it, it is easy and quickly to re-wet. You can simply wet a towel and drape it over a slab of paper porcelain. In half an hour it should be ready to wedge and use. If you need it in a slip, just add some water to it. See the pottery video above. Commercial paper porcelain I am not aware of a commercial paperclay in the USA. There is one in Europe with which I worked before. It is available at Lehmhuus AG and Zsuzsa Füzesi builds beautiful, large porcelain sculptures with it. If you discover one, please let me know so that I can share the info with other porcelain potters. In the Porcelain handbuilding with Antoinette Badenhorst, I teach potters in one of the videos how to mix their own porcelain paper clay. Just remember, even if you do buy a commercial paper porcelain, it is still just paper fibers and clay, unconditionally of what is added to commercialize it. They may be able to sell a perfect batch, but experience have taught me it do not last much longer than my own mixture.
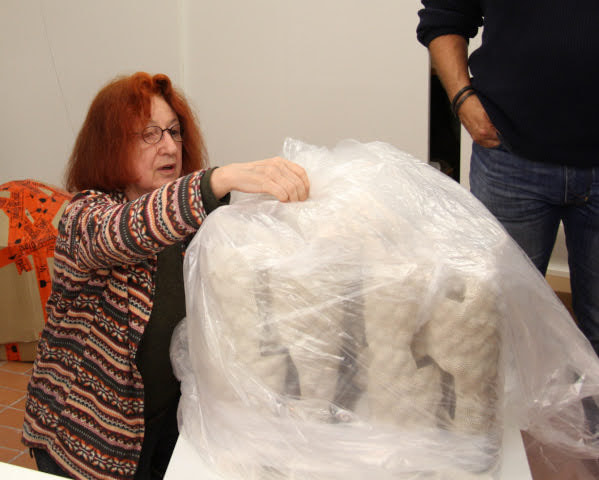
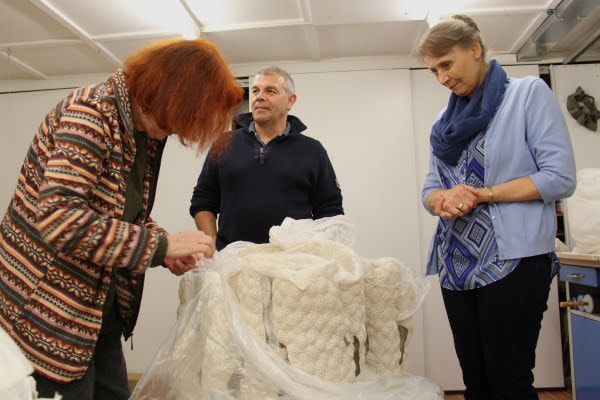
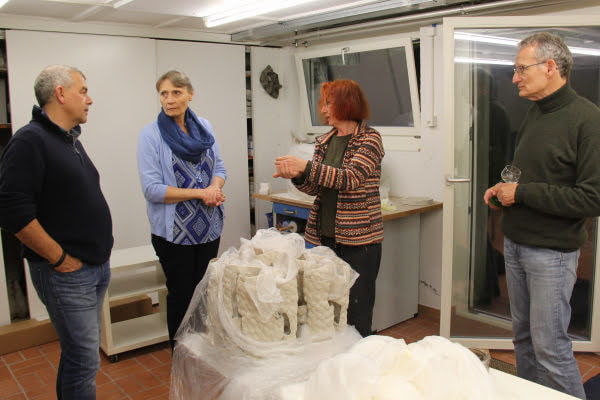
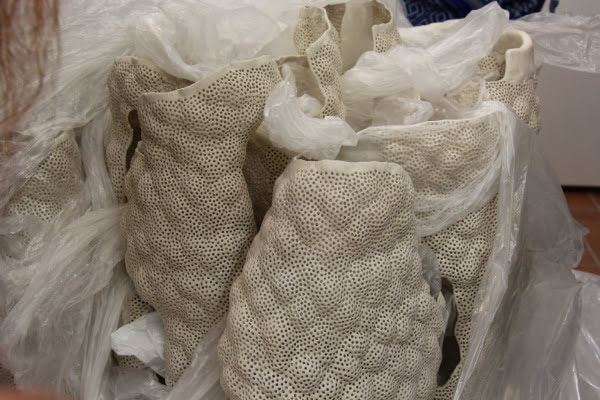
When I was teaching a class at Lehmhuus AG in 2016, we were invited by Zsuzsa Füzesi for a very delightful evening of ceramic and cultural discussions. At the time she was working on the paperclay sculpture below. Zsuzsa expertly design her porcelain sculptures to withstand the demands in the kiln.
A few things to remember about paper porcelain:
Know the paper that you are using. Just like the clay industry, the paper industry is a scientific industry in which additives strengthen the paper, make it more dense or help to thicken the paper. They may add kaolin, bentonite - like gums, opacifiers, glue and many other things that forms a basis for their success. Just like we have our secrets with clay, they have theirs in the paper business. The significance of that is that the raw materials that I just mentioned, is also present in our porcelain. Therefore you should not be surprised if your paper porcelain is not as white or as translucent as the original clay body.
Learn more about porcelain in my porcelain online workshop or attend one of my hands-on porcelain workshops
Tags:
#Carvedporcelain #wateretchedporcelain #Translucentporcelain #Wheelthrown #Alteredclay #Alteringbowls #wheelthrowing porcelain #wheelthrowingporcelain #firingporcelain #cone10porcelain #handmadeporcelain #porcelainvessels #handmadeporcelain #^6porcelain #cone6porcelain #onlinepotteryclass #virtualpotteryclass #clayshare #onlineceramicschool #^10porcelain #workingwithporcelain #Handbuildwithclay #Handbuildingpottery #Handbuilporcelain #Handbuildingporcelain #handbuildwithporcelainclay #potteryvideo #Paperclayvideo
Glaze materials are expensive and many times we test glazes that has potential, but is not necessary what we wanted, or it may take many more tests to get what we want. I am one of those potters that do not easily trash anything. So I am always making plans to utilize what I tested and many times I found hidden treasures where I least expected it. In this video I show you how I use glaze tests from the Glazing made easy e-course that either have some potential or did not work at all.
You can also create new and fresh glazes from old glazes. Just make sure that you test it properly and that the end result fit your clay body. Remember to take notes. And remember, there comes a time when tests of tests should be trashed.
Antoinette shows in short video clips how to trim porcelain during the workshop in Moose Jaw, Canada. During the time in Canada she interviewed Jack Sures at the University in Regina. Her online porcelain classes are much more in detail with many more tips and techniques.
My way is not the highway. If you can take some things from my way of throwing and trimming and develop your own style, I have achieved exactly what I wanted to. Each and every one of us has our own ways of doing and handling things and the teacher that tells you cannot do it different from his or her way, is not honest with you and you have all rights to challenge that person.
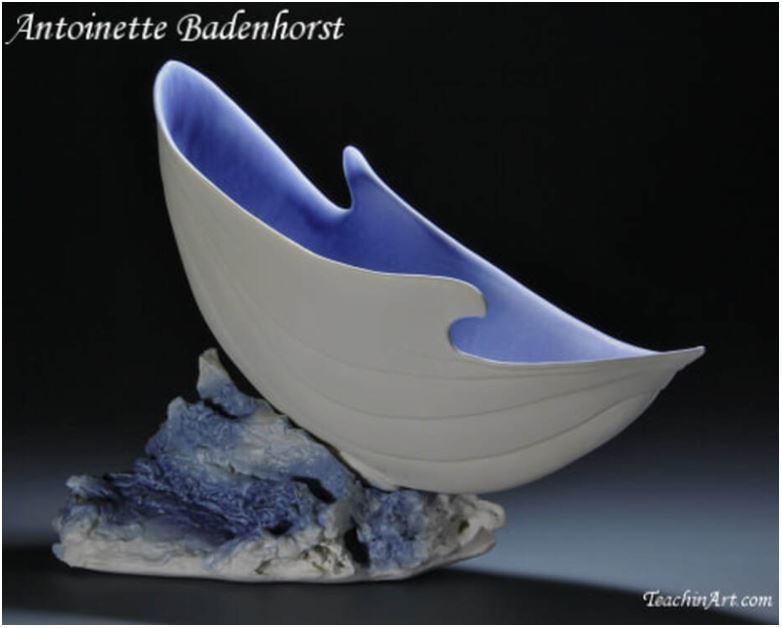
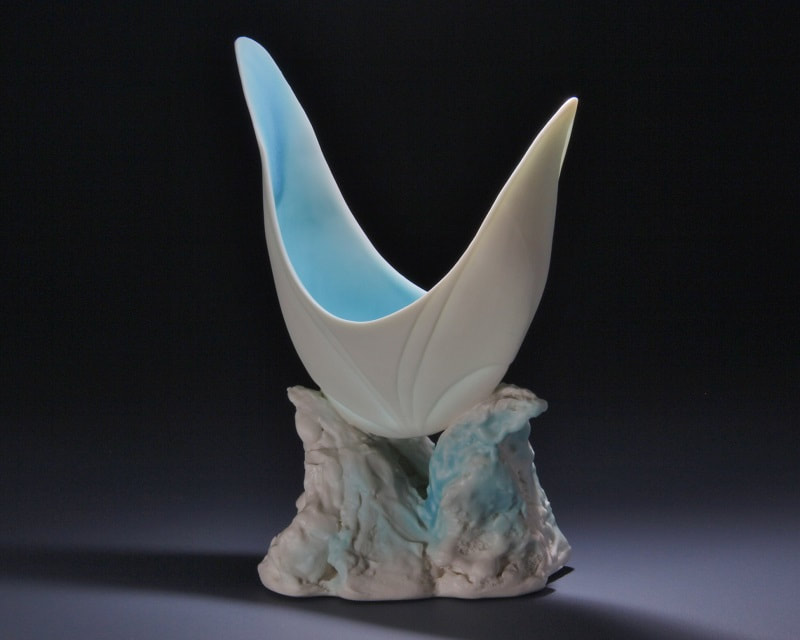
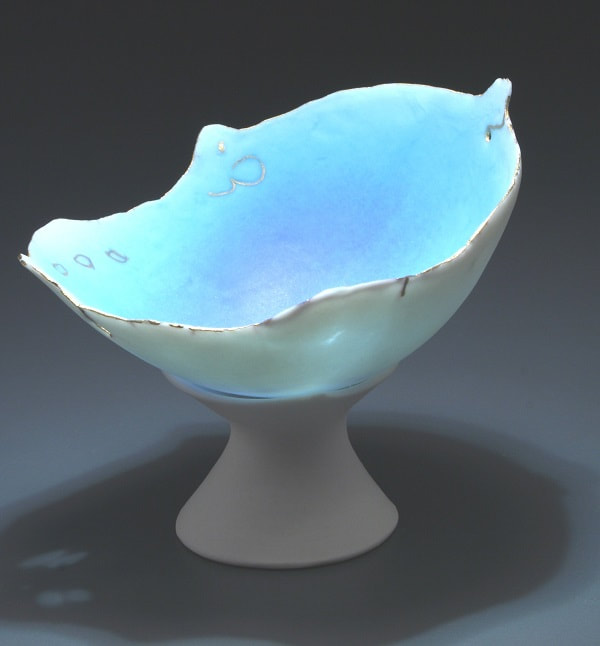
Antoinette s Porcelain Ice sculpturesPorcelain will not sit on a small pedestal like that when the pieces are made freshly. The clay is too fragile at the raw stage, so I make plans to finish the piece once it is a little harder.
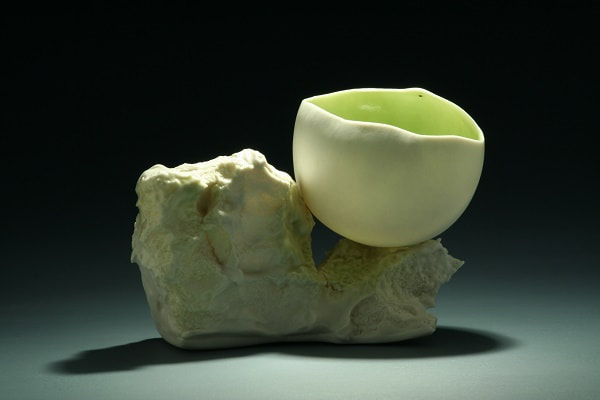
The bowl at the top is wheel thrown and the base is hand built .
One of the most difficult things for potters that did not study chemistry, is to understand glazes. Antoinette describes it in this demonstration with everyday groceries found in the kitchen.
One of my favorite activities in porcelain is to alter and carve the clay. It is wonderful to feel the clay respond to my intuition.
It is not always easy though. One push too far and the clay will start to crack. Sometimes I get carried away and forget that the clay will need to be fired once it is made into a wide rimmed bowl. Porcelain is very demanding in the kiln, since it become semi-glass. If I just work and do not plan, it ends up in a disaster.
This bowl was one of those that did not make it, but has a beautiful story behind it: When I was presenting workshops in Europe in 2016, I created this wide rimmed bowl from Audrey Blackman porcelain. Koos and I carried it with us to all the next workshops, allowing me to work on it for 2 and a half months, over the workshops that I presented in 6 different countries. We traveled by car. I began to trim it in Slovenia, altering and starting the carving process in Belgium, back to Switzerland, where I originally threw it, continuing to perfect it in Vallauris, France and finally carrying it to Spain with the hopes to get it bisqued and to leave it behind in Europe. Unfortunately, it started to crack, due to our long hours on the road and possibly the unpredictable situations that it went through, so we decided to break it. In 2018 I made one at La Meridiana and one in Switzerland
I'll be back in Europe once it is safe to travel again, so maybe I should continue with more carving as I teach in new places, like Madrid and Vienna.
I love the carving process and the challenge to being able to carry it with me in a box for such a long period; was amazing. Porcelain can tolerate many things; uneven drying conditions is not one of them. It helps to understand the porcelain clay medium and if nothing else, I use my success and failure to teach my students. If you are having difficulty with porcelain, you can start to read my blog posts here and consider doing one of my classes. I teach students ongoing in online workshops, but I am also teaching classes in different parts of the world.
What did you do before bats were invented to put on the potters wheel? Then how did you secure the bat on the wheel head before someone discovered that 2 holes on the wheel head that can hold a nut and a bolt in which you can click a wheel bat with corresponding holes in it?
In this video I am showing you how to create a clay pad that you can use repetitively to secure a bat on. Tips:
There are a few things that will help with the success of throwing porcelain on the potter’s wheel. The clay must be soft enough for easy manipulation and well centered. Remember clay does not always need water when it feels hard; sometimes it is just thixotropic and needs to "wake up". The potter must feel comfortable behind the wheel, so make sure that everything works well and that you are relaxed.
I had several people asking me how I create porcelain vessels over a balloon. Some potters create these vessels with slip, some create them and it leaves thick patches. In this video, I show you how I create them to where they are perfectly smooth. It can be used for sculptural, as well as functional work.
How to put a foot rim on a balloon bowl
Once the bowl is removed from the balloon, the placement of a foot rim can be marked out and a coil, pinched or wheel thrown rim can be placed on the bowl. This can be a small foot rim or a tall pedestal. Click the button below to see and read more about foot rims
Below are links to some of the online workshops that Antoinette Badenhorst presents. Click on the button to go to the content and registration page.
How to throw a slab of clay.
A slab of clay can be easy to make, but potters are not always successful, because they do not always follow the rules. Click the button below to see and read more about making slabs.
Can balloon bowls be functional and used for dinnerware?
It all depends on what you do and how you want to present it. Click on the link below to learn more about the hand building dinnerware e course.
|
Video: Pottery demonstrations blog
AuthorAntoinette Badenhorst is a ceramic artist working with porcelain clay. She teaches potters all over the world in hands-on and online workshops. Antoinette is the author of many articles, blogs posts and the author of "Working with Porcelain" Categories
All
|
 RSS Feed