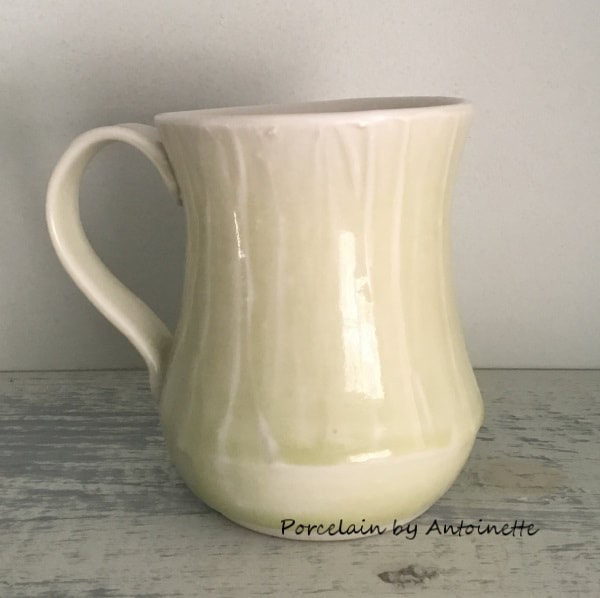
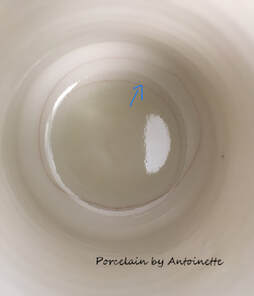
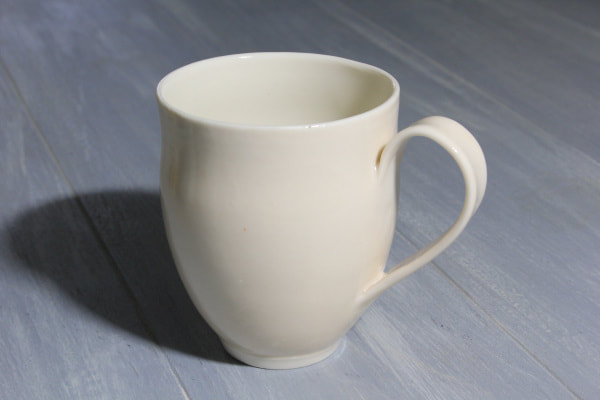
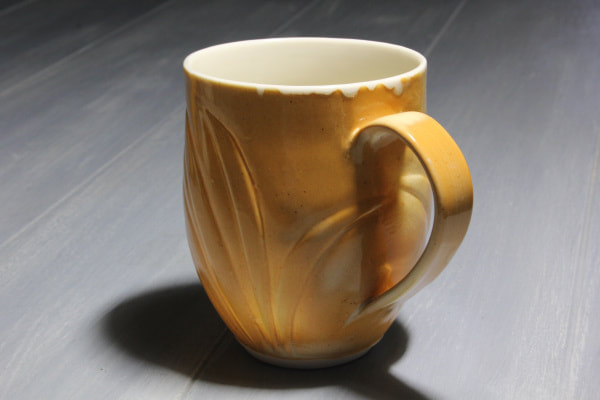
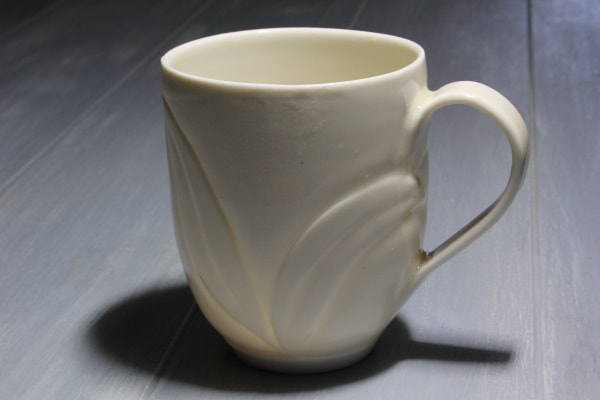
It was very visible in the light colored porcelain mug. (Image above) Many mugs will not show this kind of defect and as you all know, it is the perfect place for dirt and bacteria to gather. Any well vitrified clay object can be subject to too thick layers of glaze and it can be disastrous in any clay body if the problem is not addressed. I took the mug outside and knocked it on the cement to break it.( Yes I protected my eyes with safety glasses) and I have to tell you, it took me about 5 really hard knocks, before it broke. Did I mention that porcelain is a really strong ceramic medium? Anyway, the way it broke shows clearly a too thick layer of liner glaze inside the mug (see image below).  A too thick glaze layer is clearly visible on the bottom of this mug shard. How to prevent dunting in pottery.Even walls and an even application of glaze on any functional clay object is crucial. In this case the glaze layer was too strong for the clay body. Since it is a clear glaze, it is possible that I double glazed it without realizing the mistake. Prevent thermal shocking during the firing process. A kiln that is fired too fast or that fires unevenly may cause trouble, not only with dunting, but possibly with warping too. Obtain knowledge of silica and its behavior in pottery clay and glazes and especially how it will behave during firing of a pottery kiln. ( Silica, often a culprit in the studio, is an interesting topic for potters to review.) See: Kilns suitable for porcelain in the near future. Potters must make sure their glaze and clay body is a good fit for each other. There are glazes that are simply too strong for the clay body in use and instead of just shivering, it may tear and crumble a pot up into pieces. Glazing on just one side of a piece, may cause dunting, when the stress of expansion and shrinkage on one side is stronger than the other side. Large plates, platters and trays often tends to dunt when it is not properly set up in the kiln Learn how to fire plates. Identify dunting in a clay objectWhen a crack is long and ongoing with a sharp edge, it is most certainly a dunt. This type of cracking can appear in the clay or the glaze or in both. They may appear vertical, horizontal, spiral or with a ragged edge all over the object. If the crack is soft and rounded, it means that glaze moved and melted into the crack. The obvious observation is that the crack was there before the glaze melted. This type of crack is unrelated to dunting. How to use pottery in the kitchenIt is important that pottery users realize that they are working with a glass-like product that can break and chip if it is abused in the kitchen. Here are a few tips to be aware of when you buy pottery. Always inspect your pottery directly after you received it from any ceramic artist; especially when it is shipped to you. Make sure it does not have hidden cracks, by tapping with a wooden spoon on the rim. A cracked piece will have a dull sound. If you are about to subject your pottery to heat or cold, ALWAYS avoid sudden temperature changes. NEVER take a bowl or casserole dish straight from the refrigerator to the oven or vise versa. Not only is it a dangerous practice in which you can get hurt, but you will most certainly loose your precious bowl. If you observe a crack, understand when it is a dunt and when it is a flaw in the making process. A crack that was formed in the making will have rounded corners, whereas a dunt is sharp. Be aware that there is such a thing as delayed dunting. By discussing it with the potter, you may help him/her to solve a issue that they may be unaware of. Links TeachinArt - Online School of Art Wheel thrown porcelain dinnerware Handbuilding porcelain dinnerware AIC_IAC - International Ceramics Academy of Ceramics MAC - Mississippi Arts Commission Antoinette appreciate any comments. Also visit her Porcelain shopping gallery if you are interested in collecting one or more of her ceramic art pieces.
30 Comments
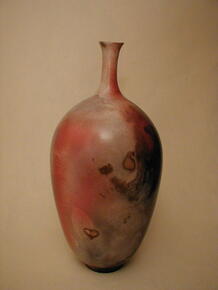
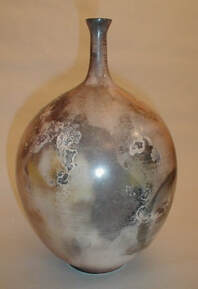
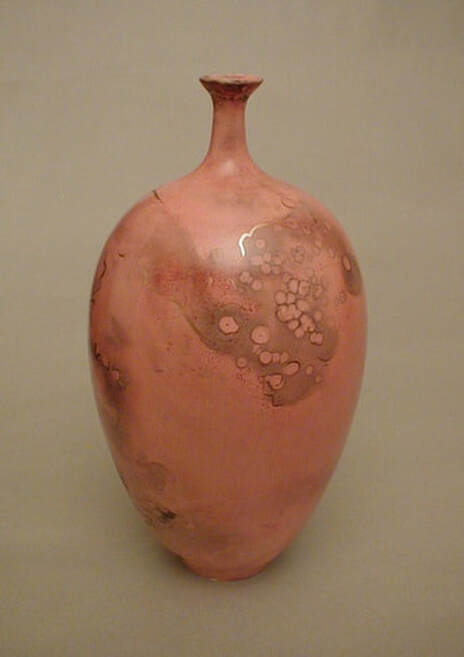 Earlier pit fired porcelain bottle by Antoinette Badenhorst. The throwing of a bottle requires specific planning. When working with porcelain it may take a little more planning, since the diva would not work along unless you do it "her" way. In this series of images I am showing you how I do it. 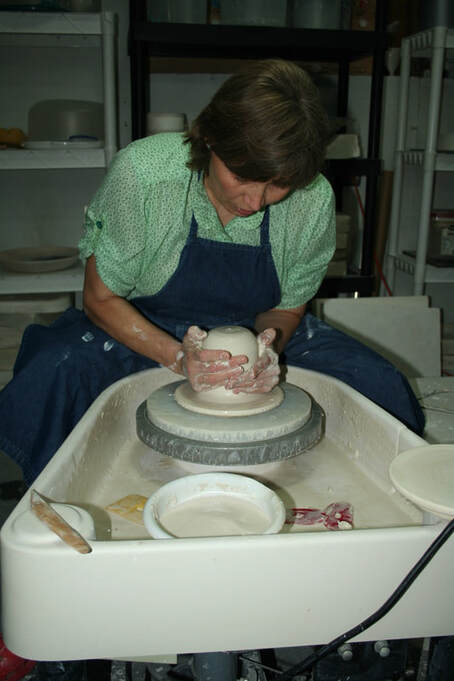 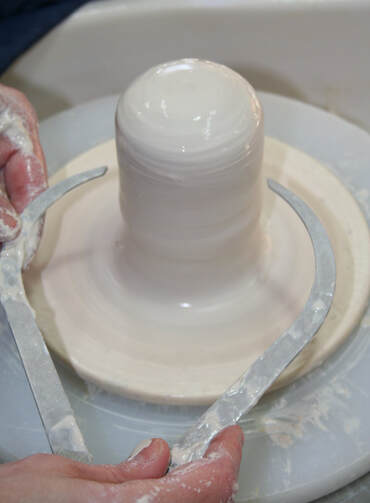 Be sure to wedge and center the clay properly The width of the dome before the opening of the clay, is an indication of how wide the bottle will be at the bottom. 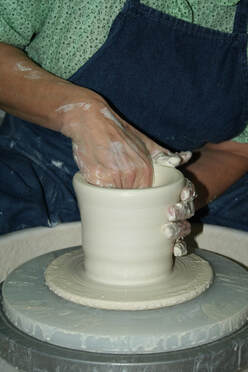 Open the clay so that you have a round curve in the interior bottom. This will help to form a rounded curve at the base. 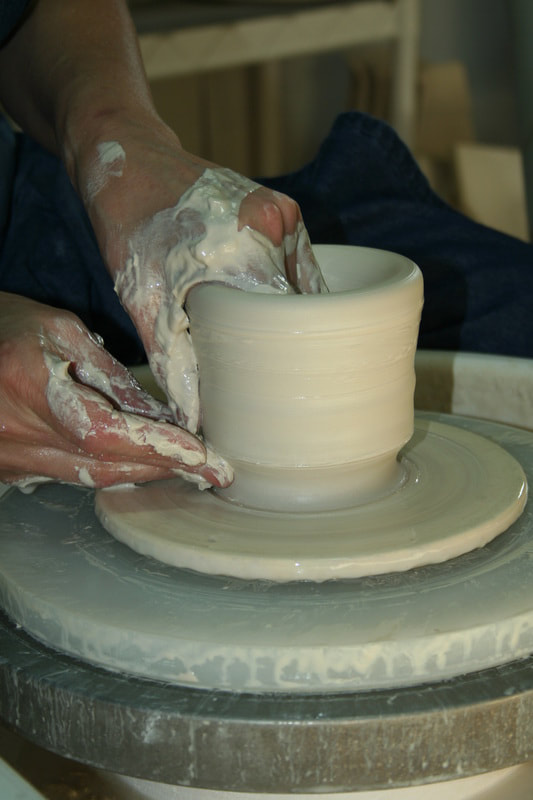 Push a dent at the bottom of the pot to be able to move a wall of clay upward. 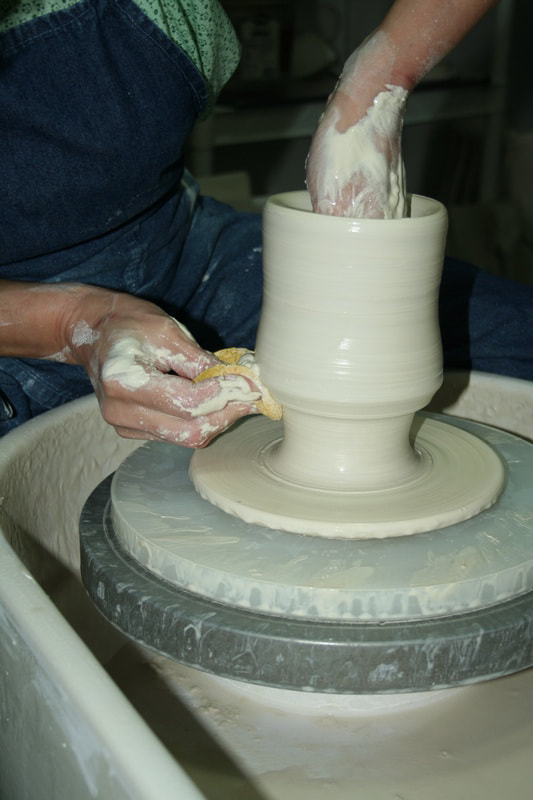 Rather than pulling, push the clay up. 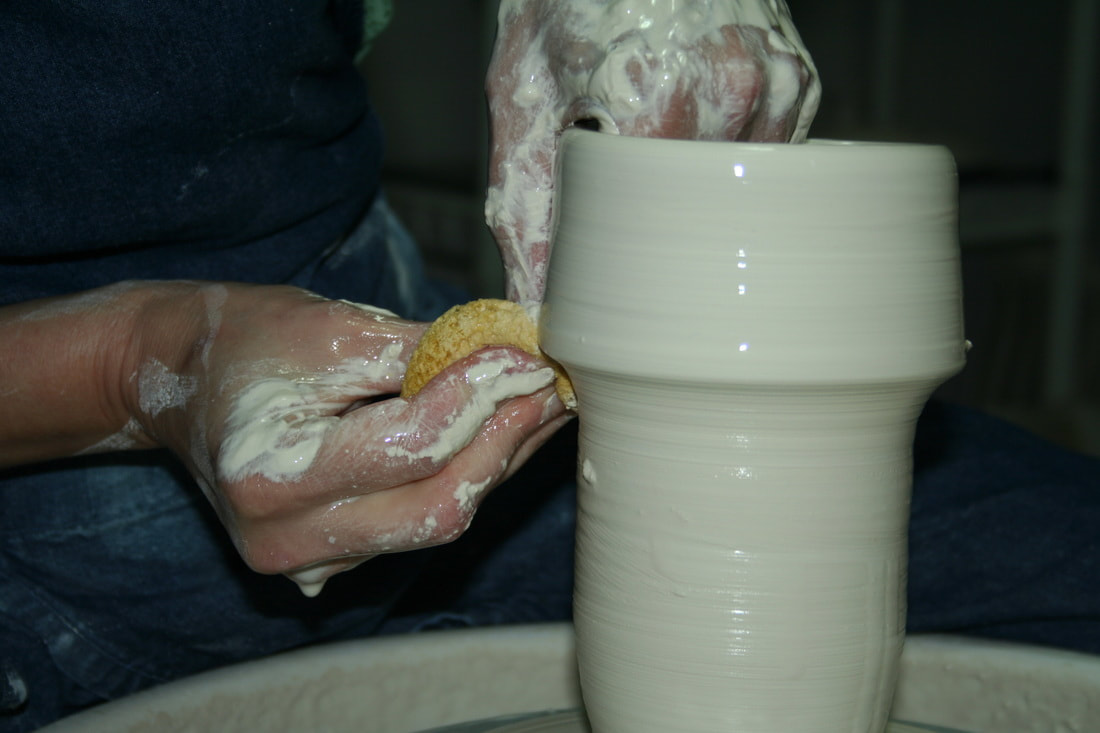 Keep pushing the "clay-wave" up right to the top. If you have to stop in- between, do so, but continue where you stopped. 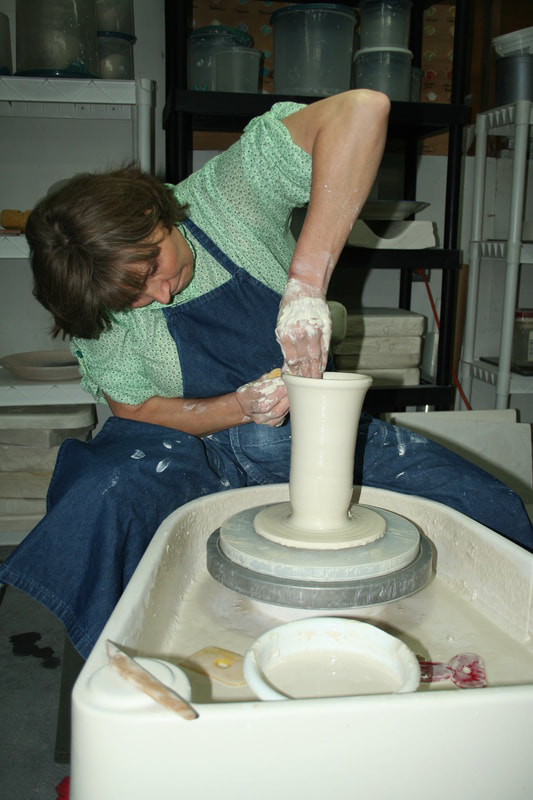 Note the direction of my arm. That helps to keep the cylinder narrow and going upward instead of flaring open. Keep pushing the clay-wave up right to the top. Strengthen the clay rim by running over it and gently forcing the clay into the wall.(repeat this pushing process from bottom to rim at least 3 times) 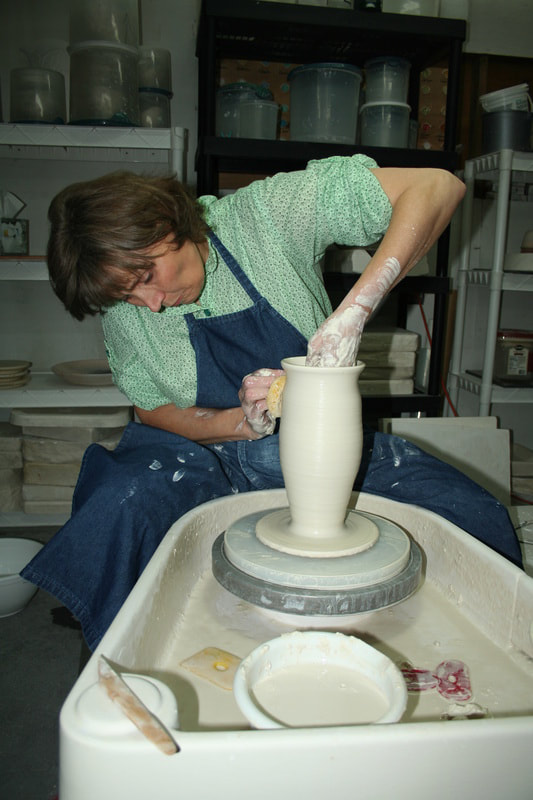 The curve forms when your hands start to push the wall in and outward. Also notice how the position of my arm changes. When the interior hand pushes the clay wall outward and move it upward at the same time, a belly starts to form. At this time the outer hand (which is normally the dominant hand) will follow on the outside just below the inner hand. 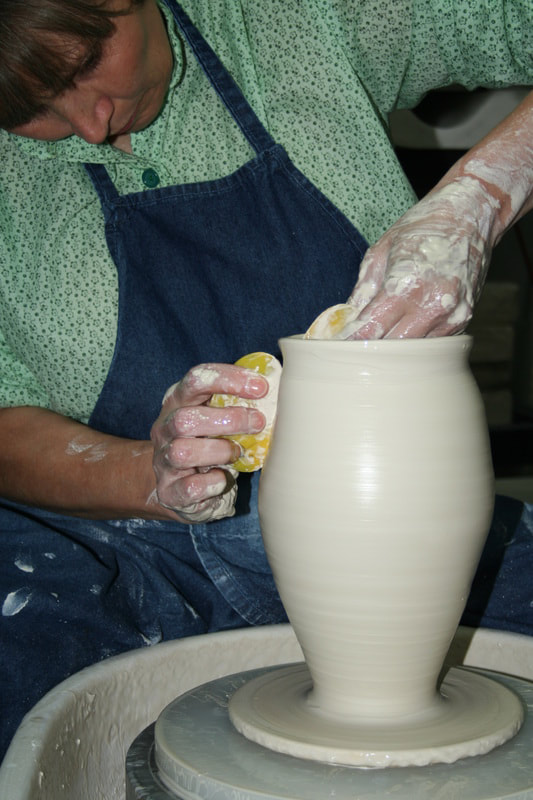 When the hands change position, where the outside hand gets above the inner hand, the bellying stops and the clay move inward, closing in. Keep removing slurry and excess water all the time while throwing.  When the clay mouth becomes narrow enough for the hands to cup around the rim, it is time to collar the clay. 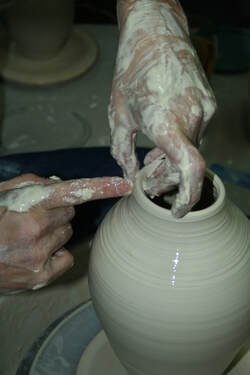 As the clay collar, it becomes thicker again and more clay becomes available to enclose the form and to make a spout. This is a critical time, since the clay is been worked a lot and it can easily collapse. Firm, but gentle touch and often a slightly increased speed of the wheel is necessary to keep the curve up. If you are a beginner doing pot for the first time, a 10 to 15 minute break to allow the clay to dry of some may help. 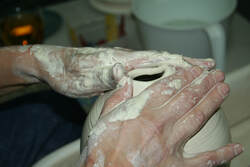 Keep collaring. 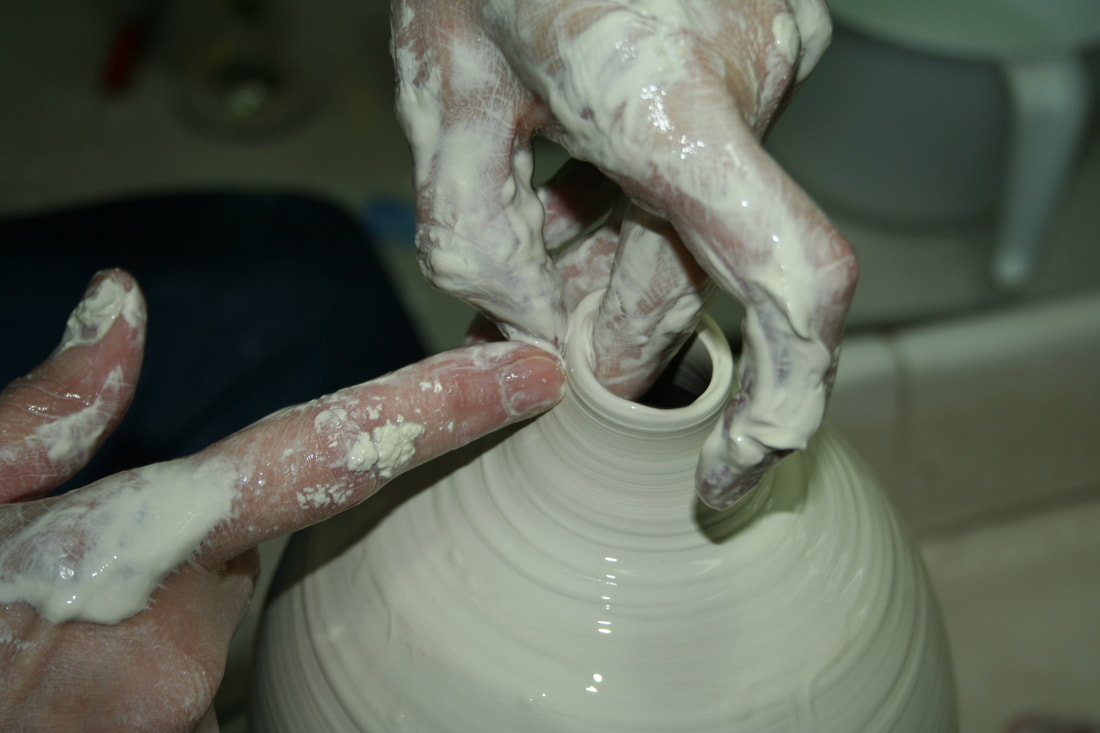 Push the clay up to form the spout. 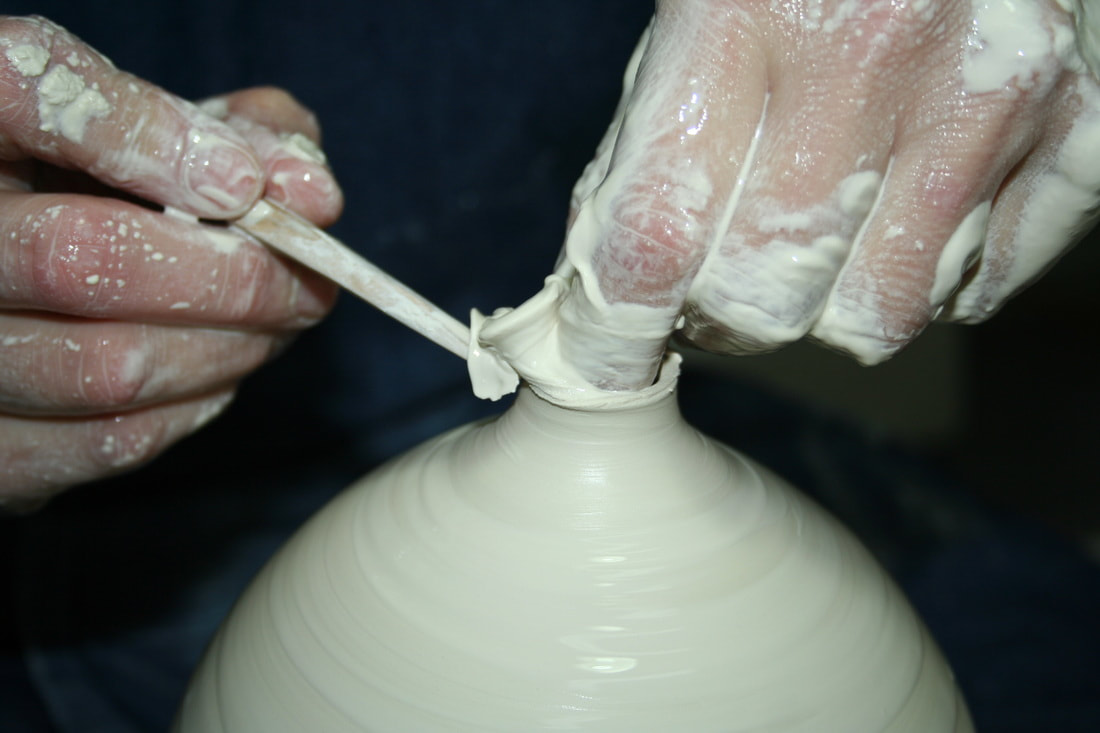 Cut the rim straight with sharp tool if needed. 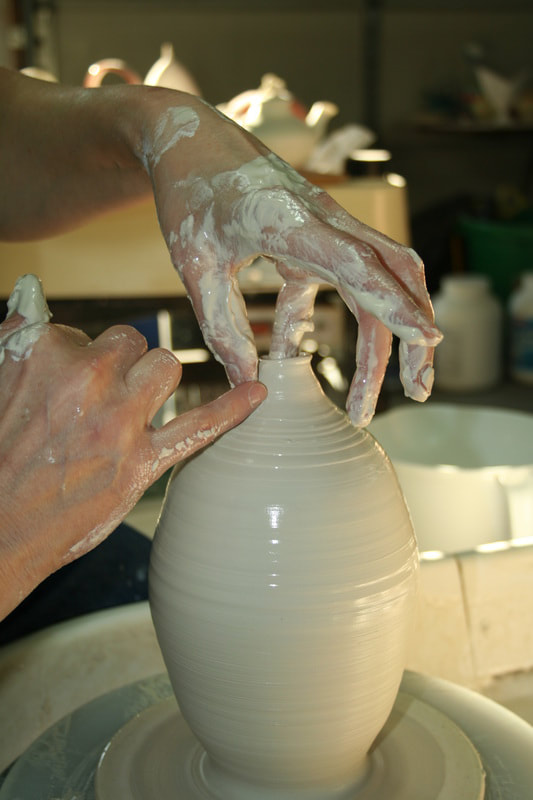 Move the clay with the one pinkie up against the other pinkie, which is in a supportive role at this stage. 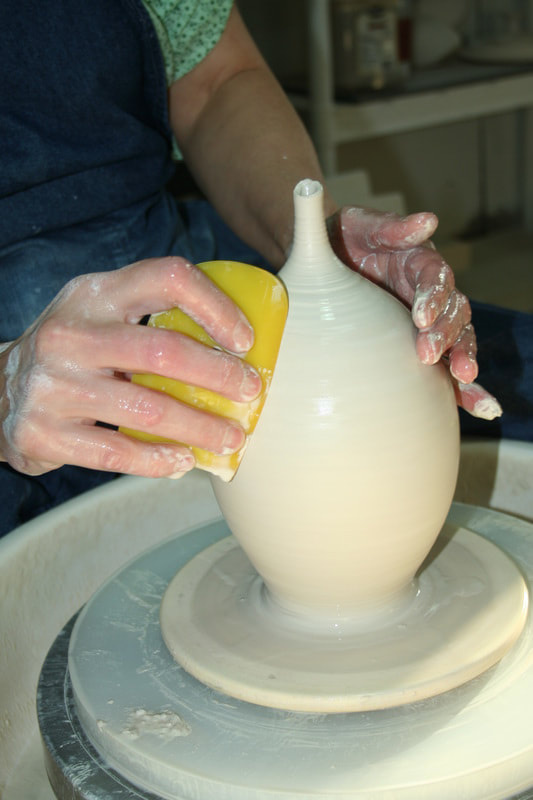 Run a kidney up against the curve of the pot to remove excess slurry and to smooth the pot and allow the eye to move pleasantly and without obstruction over the curve. 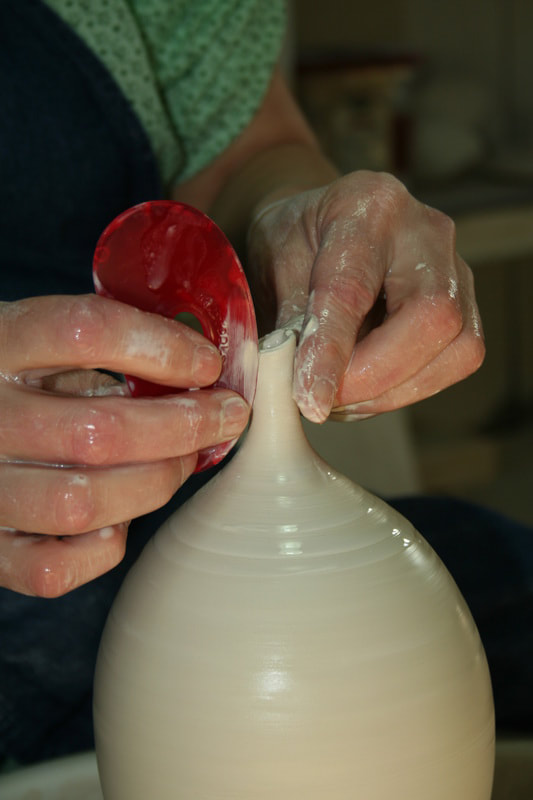 Move the kidney up against the spout to help the transition between pot and spout become smooth. The bottles below were made in the early 2000's by Antoinette.
Tips to throw a bottle successfully on the wheel. Work very sparingly with water. More so when you throw with porcelain since the clay is thirsty and will collapse faster. Rather use little amounts of water more often that a big handful. Dipping fingers in the water is often times enough. I like to use a sponge and keep it lightly lubricated. It takes experience to know when you need to start making the belly. Leave the pot at least a quarter of an inch thick so that there are enough clay to expand into a curve. The top third is normally a good starting place to start narrowing the bottle. Run a kidney (slightly bent between your fingers) from bottom to top to take out any ridges that may obstruct the flow of the curve. Have fun, keep practicing and let me know how this method works for you. maybe you have a special tip to share here. Keep following, because I will share more educational ceramic information here. If you like what you see and get, please share it with your friends. Below are comments that I copied from my previous web server. feel free to continue with comments
Thanks for the "push" vs. "pull" technique. Will try to indent and see results. Will use some porcelain at Elgin Community College this semester. Hope all is well in Mississippi with you and Koos. Reply Antoinettelink 1/20/2014 04:47:18 pm Great to hear from you Corky! We are doing very well while I hear you guys are cold this year! Hope your studio is warm. Let me know if the technique works for you. Reply Elize Kruger 1/20/2014 07:17:02 pm Hi Antoinette, Thanks! Have you got dates yet for your Durban workshop? Reply Antoinettelink 1/21/2014 04:14:12 am I sent my info to some people there Elize .You can e-mail me and I will give you their names, but I guess they will have to work it through before letting me know. I have a great workshop coming up in Bryanston with Colleen Lehmkuhl and a few more in the pipeline. Reply Rosemary Hobson 1/21/2014 05:00:50 am I am so looking forward to meeting you at your workshop with Colleen. Your work is very inspirational.love and light Rose Hobson. Antoinettelink 1/21/2014 07:12:35 am Thanks Rose,I trust I will be able to teach you my techniques and you will be able to make your own beautiful works. Reply John Lesondak 1/21/2014 07:20:10 am Now I'm really going to import some porcelain from France (our closest distributor). This is sheer delight to observe. But I MUST be doing it too. The photos were simply excellent (that "move the clay with one pinkie" frame is simply perfect. Thank you. Reply Antoinettelink 1/21/2014 07:42:41 am You are so welcome John. Next time you come back to the States, bring us a small piece of Limoges with you if you can. Just make sure it is dried in full, for flight purposes. I am very curious about it. Hope to see you in one of my future classes. Just got the next date from Mike Lalone for 2015 too.............. Reply Greta Michelle Joachimlink 1/21/2014 08:09:34 am This is wonderful Antoinette. I am glad you decided to do this and I look forward to the e-course. How much clay are you working with in this how to? Reply Antoinettelink 1/21/2014 09:18:23 am Greta, it is a while since I made this specific slide presentation, but I am guessing it was about 1.5- 2 lbs. That is the beauty of porcelain: big results with a little biddy clay. Also: it is basically put together from 2 different pots. I took the best images to get a continuous presentation. |
Blog
Categories
All
|
 RSS Feed