|
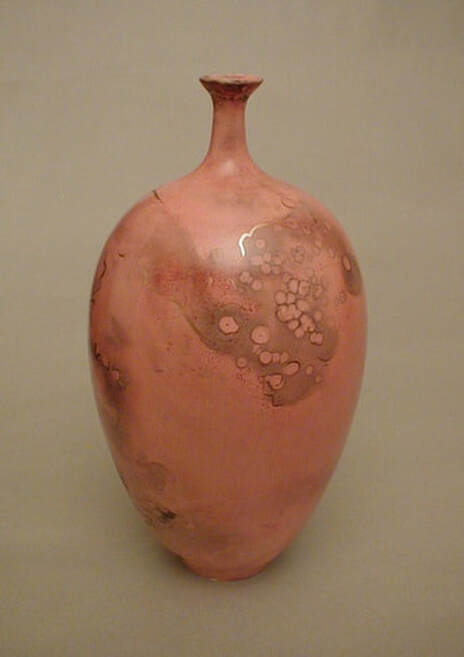
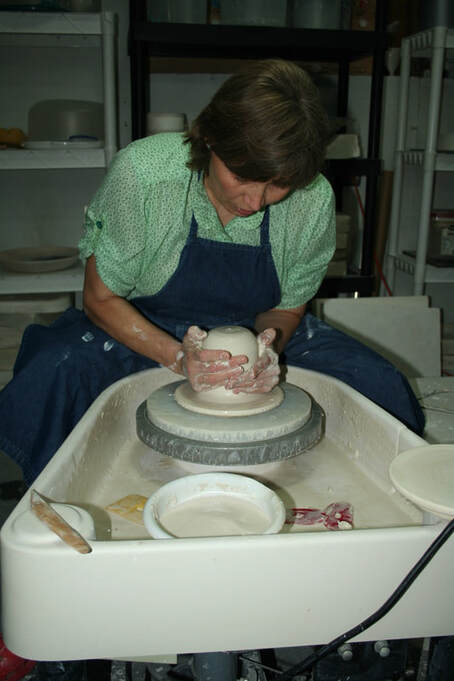
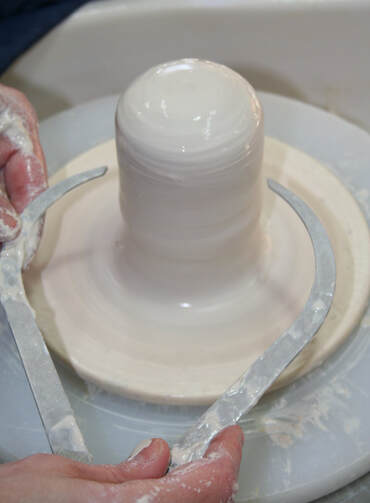
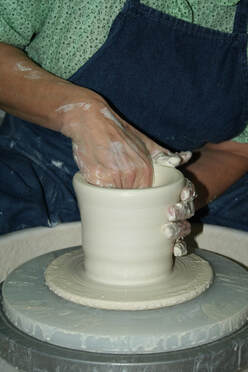
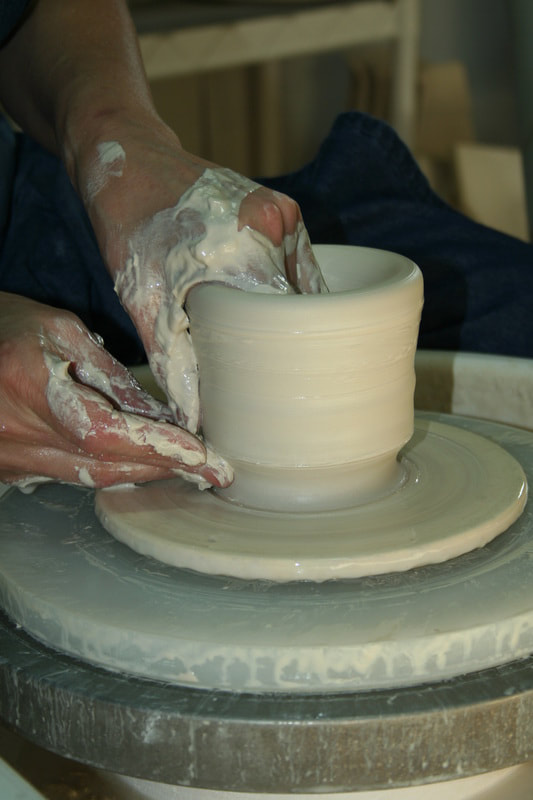
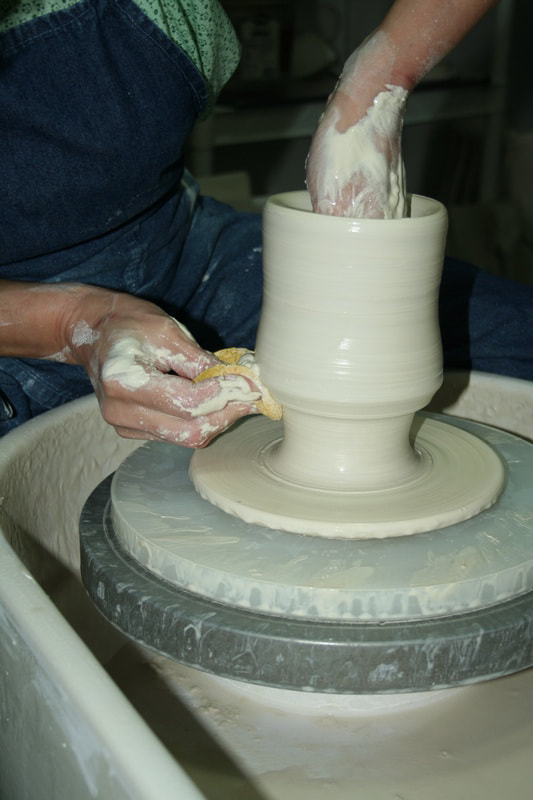
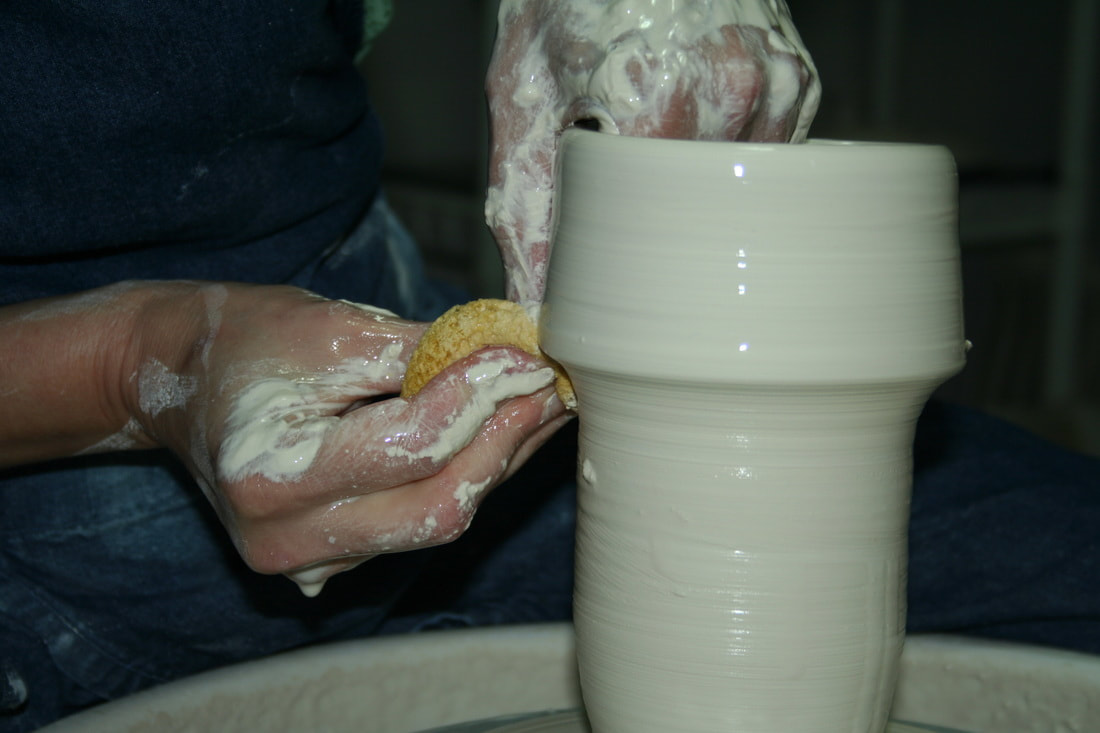
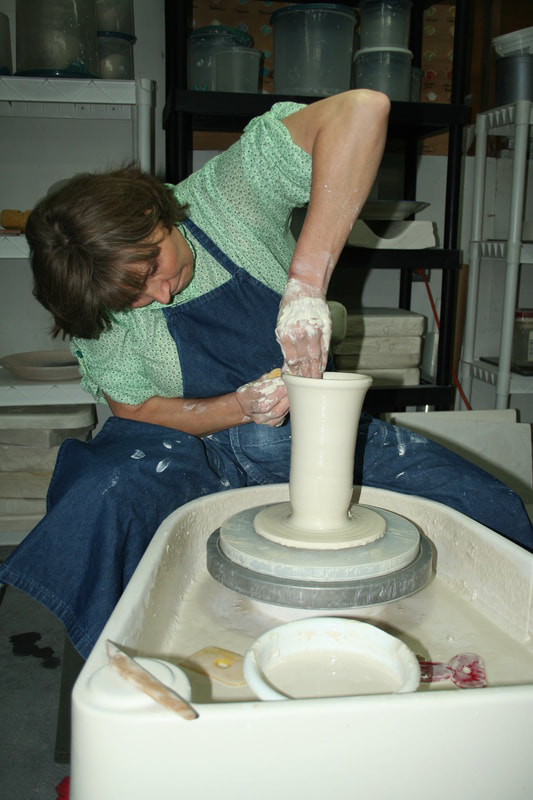
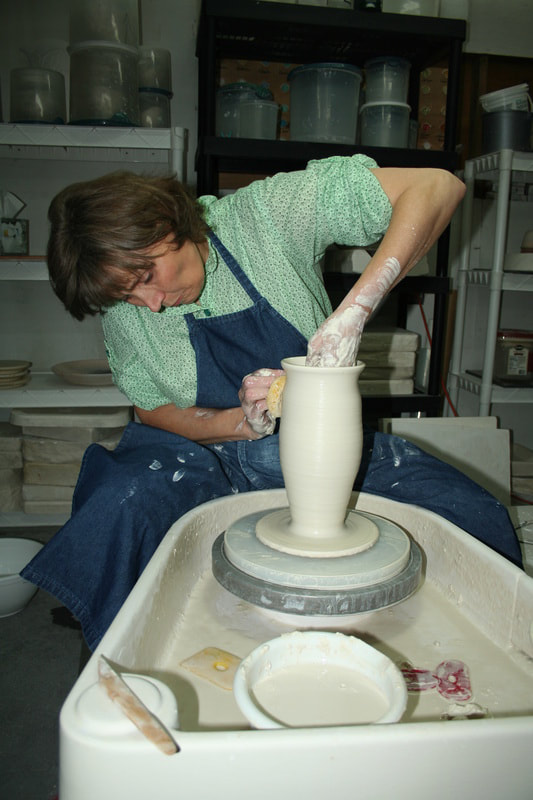
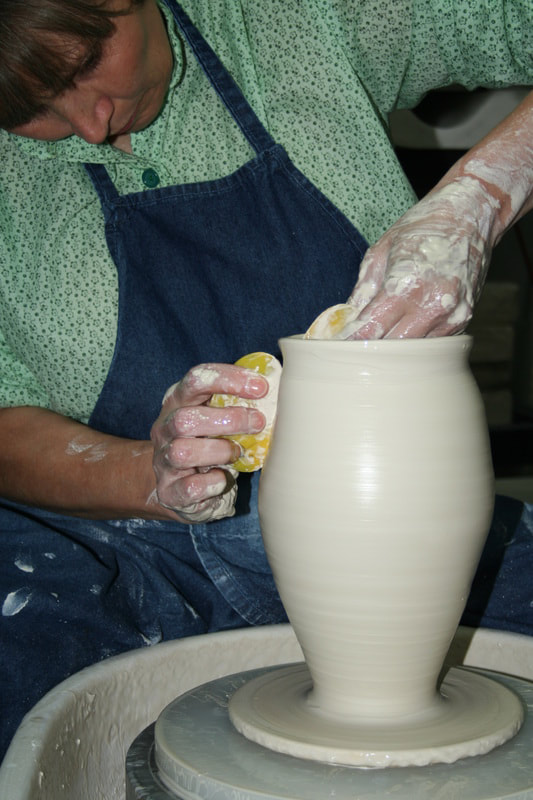
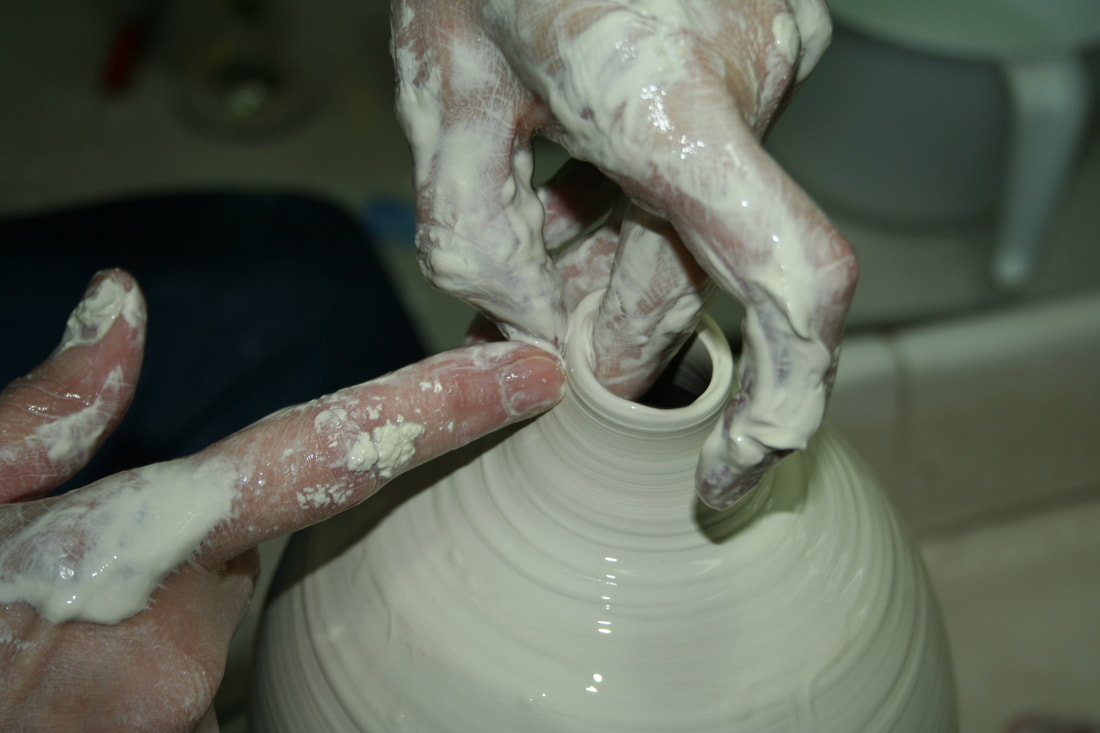
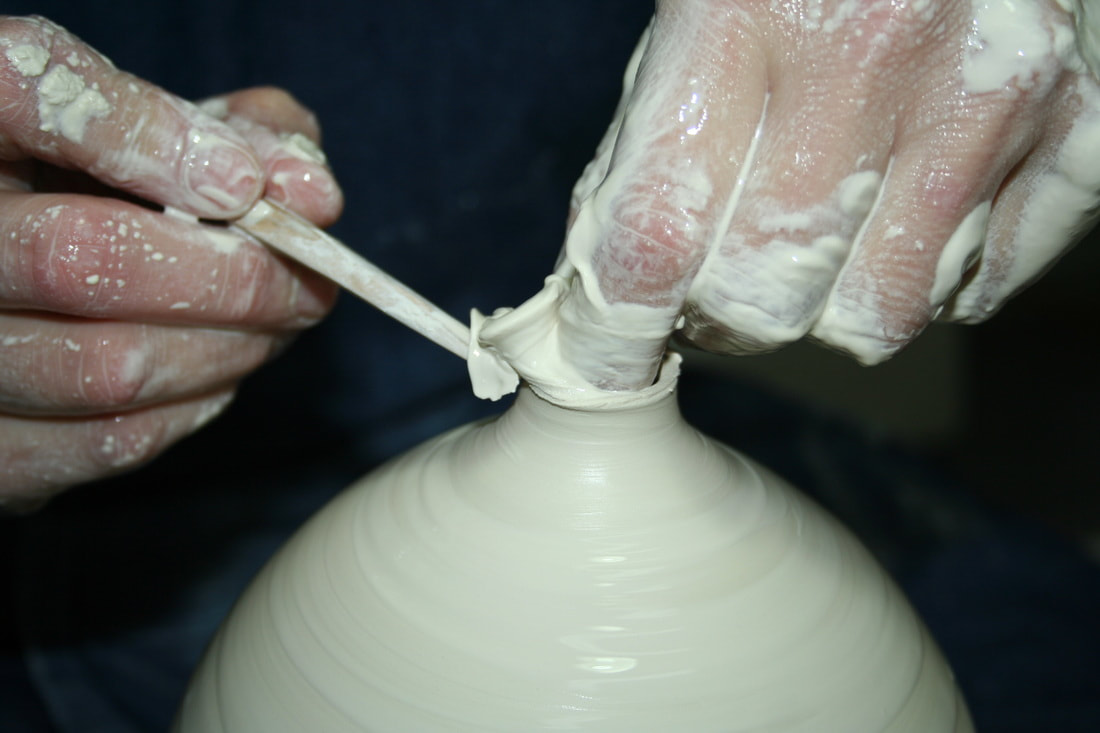
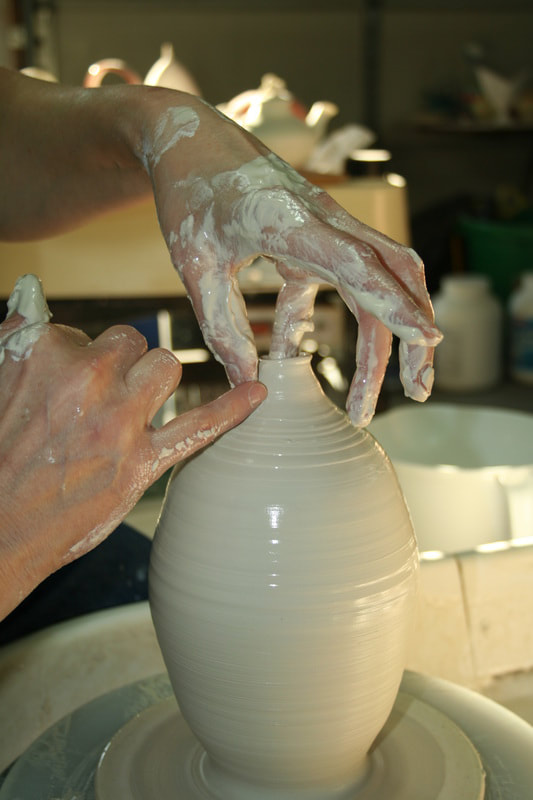
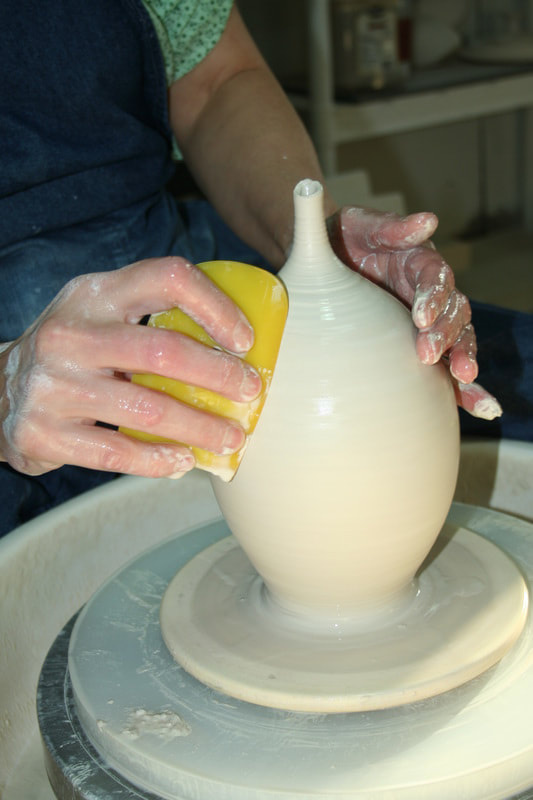
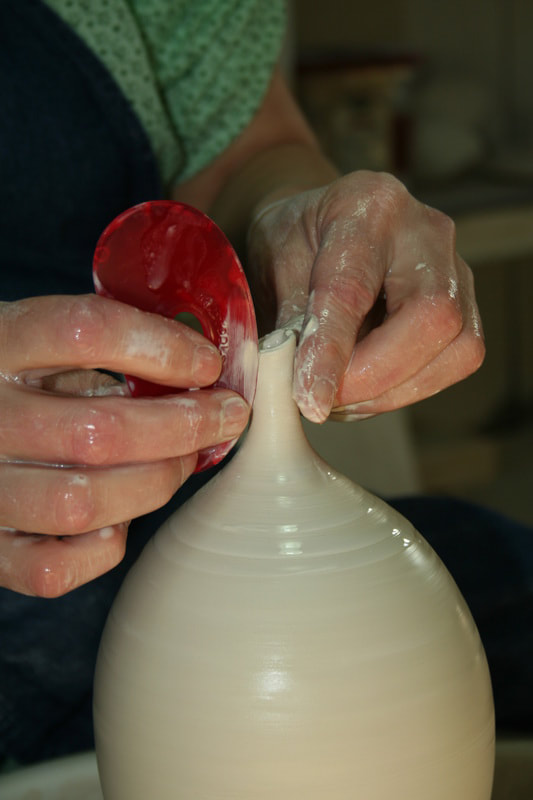
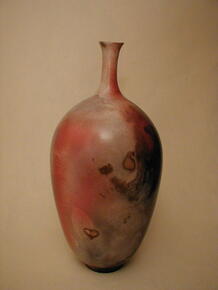
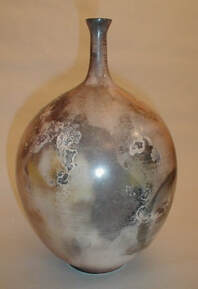
The throwing of a bottle requires specific planning. When working with porcelain it may take a little more planning, since the diva would not work along unless you do it "her" way. In this series of images I am showing you how I do it. Be sure to wedge and center the clay properly The width of the dome before the opening of the clay, is an indication of how wide the bottle will be at the bottom. Open the clay so that you have a round curve in the interior bottom. This will help to form a rounded curve at the base. Push a dent at the bottom of the pot to be able to move a wall of clay upward. Rather than pulling, push the clay up. Keep pushing the "clay-wave" up right to the top. If you have to stop in- between, do so, but continue where you stopped. Note the direction of my arm. That helps to keep the cylinder narrow and going upward instead of flaring open. Keep pushing the clay-wave up right to the top. Strengthen the clay rim by running over it and gently forcing the clay into the wall.(repeat this pushing process from bottom to rim at least 3 times) The curve forms when your hands start to push the wall in and outward. Also notice how the position of my arm changes. When the interior hand pushes the clay wall outward and move it upward at the same time, a belly starts to form. At this time the outer hand (which is normally the dominant hand) will follow on the outside just below the inner hand. When the hands change position, where the outside hand gets above the inner hand, the bellying stops and the clay move inward, closing in. Keep removing slurry and excess water all the time while throwing. 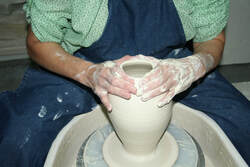 When the clay mouth becomes narrow enough for the hands to cup around the rim, it is time to collar the clay. 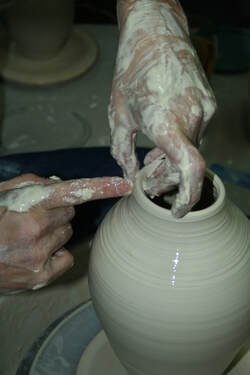 As the clay collar, it becomes thicker again and more clay becomes available to enclose the form and to make a spout. This is a critical time, since the clay is been worked a lot and it can easily collapse. Firm, but gentle touch and often a slightly increased speed of the wheel is necessary to keep the curve up. If you are a beginner doing pot for the first time, a 10 to 15 minute break to allow the clay to dry of some may help. 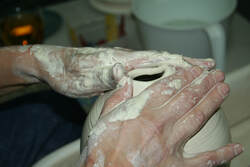 Keep collaring. Push the clay up to form the spout. Cut the rim straight with sharp tool if needed. Move the clay with the one pinkie up against the other pinkie, which is in a supportive role at this stage. Run a kidney up against the curve of the pot to remove excess slurry and to smooth the pot and allow the eye to move pleasantly and without obstruction over the curve. Move the kidney up against the spout to help the transition between pot and spout become smooth. The bottles below were made in the early 2000's by Antoinette.Tips to throw a bottle successfully on the wheel. Work very sparingly with water. More so when you throw with porcelain since the clay is thirsty and will collapse faster. Rather use little amounts of water more often that a big handful. Dipping fingers in the water is often times enough. I like to use a sponge and keep it lightly lubricated. It takes experience to know when you need to start making the belly. Leave the pot at least a quarter of an inch thick so that there are enough clay to expand into a curve. The top third is normally a good starting place to start narrowing the bottle. Run a kidney (slightly bent between your fingers) from bottom to top to take out any ridges that may obstruct the flow of the curve. Have fun, keep practicing and let me know how this method works for you. maybe you have a special tip to share here. Keep following, because I will share more educational ceramic information here. If you like what you see and get, please share it with your friends. Below are comments that I copied from my previous web server. feel free to continue with comments
Thanks for the "push" vs. "pull" technique. Will try to indent and see results. Will use some porcelain at Elgin Community College this semester. Hope all is well in Mississippi with you and Koos. Reply Antoinettelink 1/20/2014 04:47:18 pm Great to hear from you Corky! We are doing very well while I hear you guys are cold this year! Hope your studio is warm. Let me know if the technique works for you. Reply Elize Kruger 1/20/2014 07:17:02 pm Hi Antoinette, Thanks! Have you got dates yet for your Durban workshop? Reply Antoinettelink 1/21/2014 04:14:12 am I sent my info to some people there Elize .You can e-mail me and I will give you their names, but I guess they will have to work it through before letting me know. I have a great workshop coming up in Bryanston with Colleen Lehmkuhl and a few more in the pipeline. Reply Rosemary Hobson 1/21/2014 05:00:50 am I am so looking forward to meeting you at your workshop with Colleen. Your work is very inspirational.love and light Rose Hobson. Antoinettelink 1/21/2014 07:12:35 am Thanks Rose,I trust I will be able to teach you my techniques and you will be able to make your own beautiful works. Reply John Lesondak 1/21/2014 07:20:10 am Now I'm really going to import some porcelain from France (our closest distributor). This is sheer delight to observe. But I MUST be doing it too. The photos were simply excellent (that "move the clay with one pinkie" frame is simply perfect. Thank you. Reply Antoinettelink 1/21/2014 07:42:41 am You are so welcome John. Next time you come back to the States, bring us a small piece of Limoges with you if you can. Just make sure it is dried in full, for flight purposes. I am very curious about it. Hope to see you in one of my future classes. Just got the next date from Mike Lalone for 2015 too.............. Reply Greta Michelle Joachimlink 1/21/2014 08:09:34 am This is wonderful Antoinette. I am glad you decided to do this and I look forward to the e-course. How much clay are you working with in this how to? Reply Antoinettelink 1/21/2014 09:18:23 am Greta, it is a while since I made this specific slide presentation, but I am guessing it was about 1.5- 2 lbs. That is the beauty of porcelain: big results with a little biddy clay. Also: it is basically put together from 2 different pots. I took the best images to get a continuous presentation.
2 Comments
7/18/2023 01:32:10 am
Reply
Leave a Reply. |
Blog
Categories
All
|
 RSS Feed