|
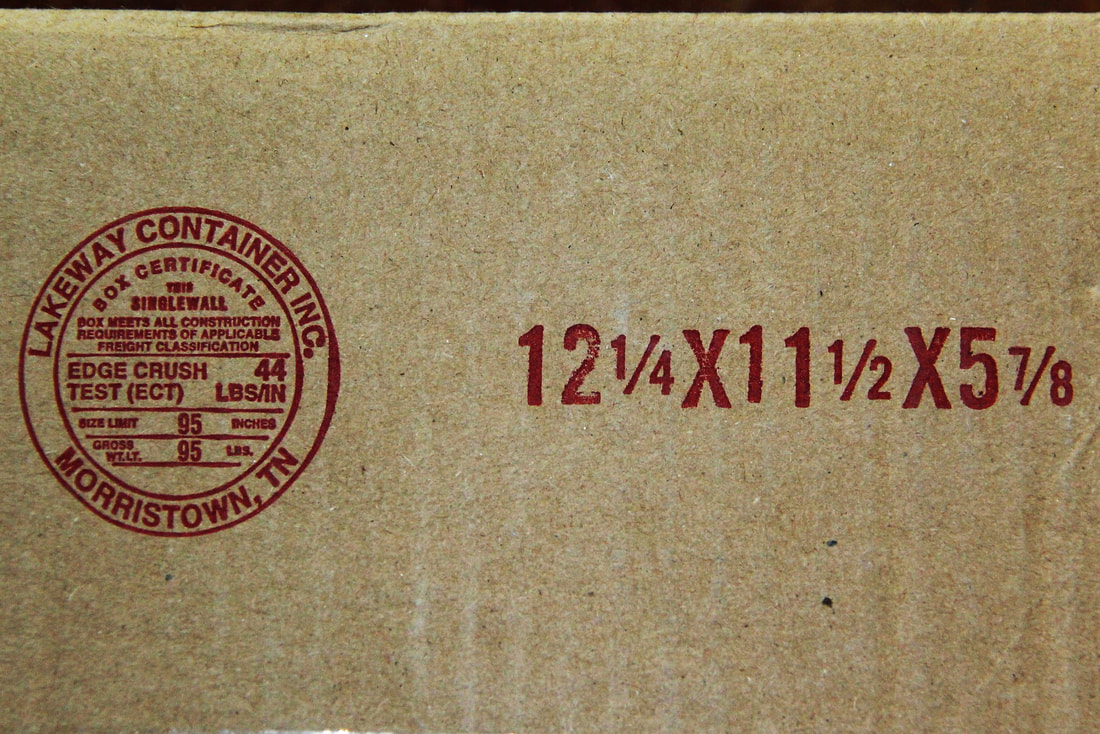
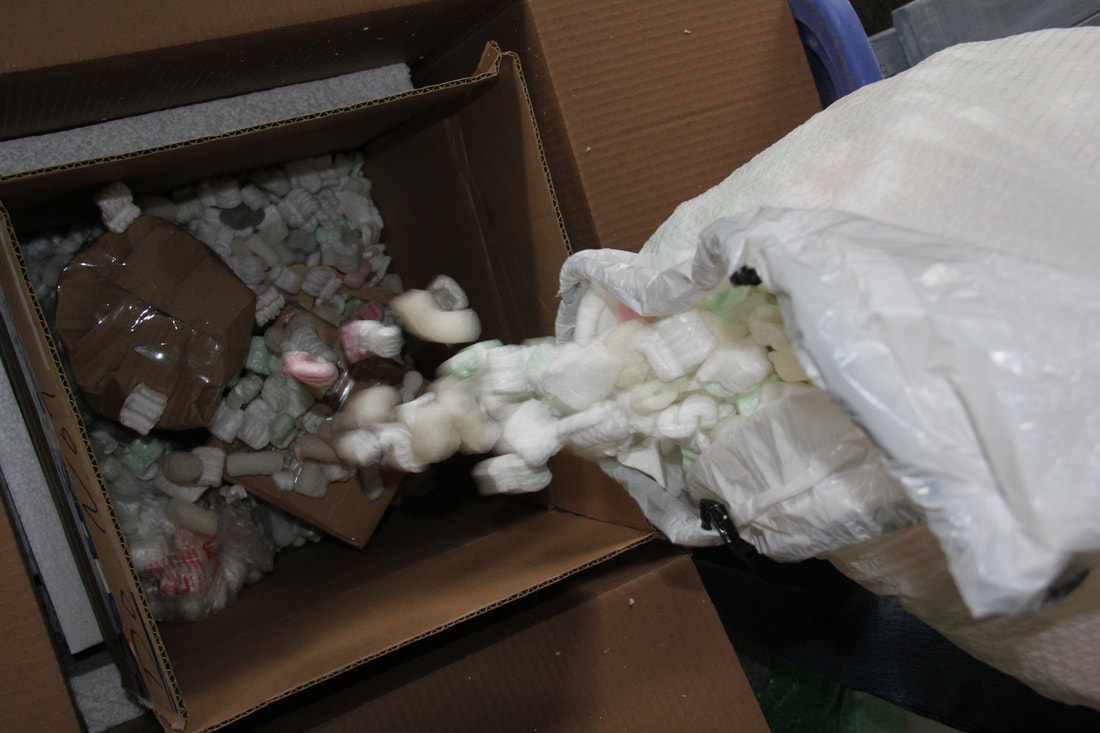
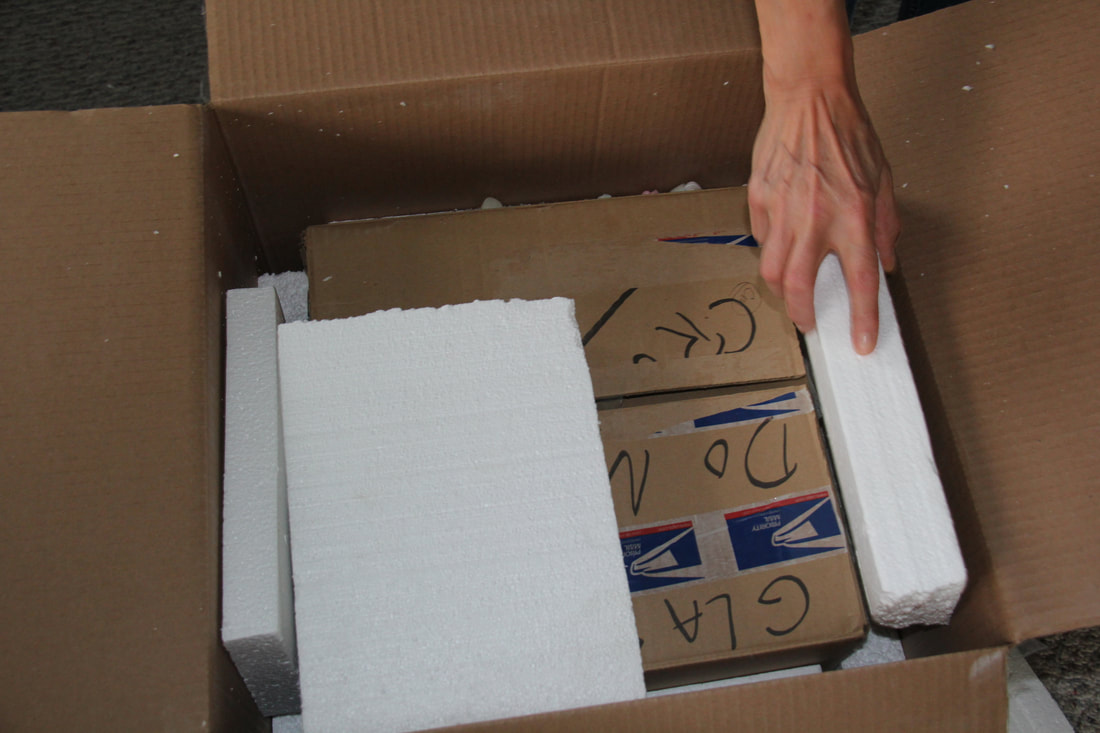
All artists are confronted one or other time with shipping of their work. Often they end up disappointed and discouraged. The success of any shipping of artwork, start with the artist self. Too often they will spend expensive materials and dedicated time to the art process, but ship the work off to its destination as an afterthought. Artists tend to work to the very last minute before the work must be shipped. Trying to save money and time to ship the work as well as last minute neglect is just what is needed to waste weeks and months of hard work. To pack and ship safely and at the best possible pricing is just as much an art as it is to do the work itself. The only difference is that art comes from the heart and mind, whereas savvy packing and shipping comes from knowledge. The right packing materials for shipping artworkPacking materials are expensive and when I started to collect my old packing materials, Koos was not too happy with me. After all it takes up storing space, but the first time that I sent him to the store to buy a container with Styrofoam peanuts, his complaints stopped. Does that mean that one must keep old packing materials unconditionally? The answer is no. Packing materials wear out. After a few uses, bubble wrap will not be bubbles anymore and will become useless, especially when you are shipping heavier work, or work that have spouts and handles. Good sturdy packing materials is a must, otherwise you stand a chance to get your work broken. The human factor must always be kept in mind. There are people that may handle packages that does not understand the contents thereof. Accidents and possibilities that package will be dropped, thrown, hit or otherwise mishandled by any shipper must be expected. 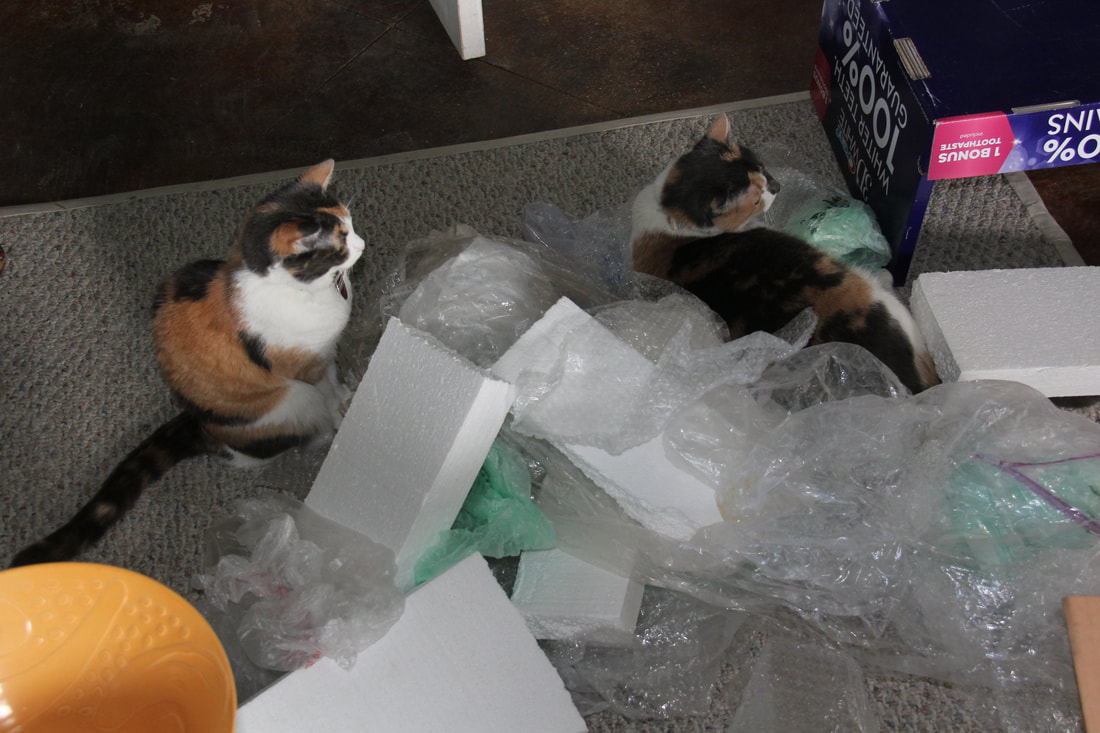 Saved up packing materials ( a cats heaven!) Use the right box |
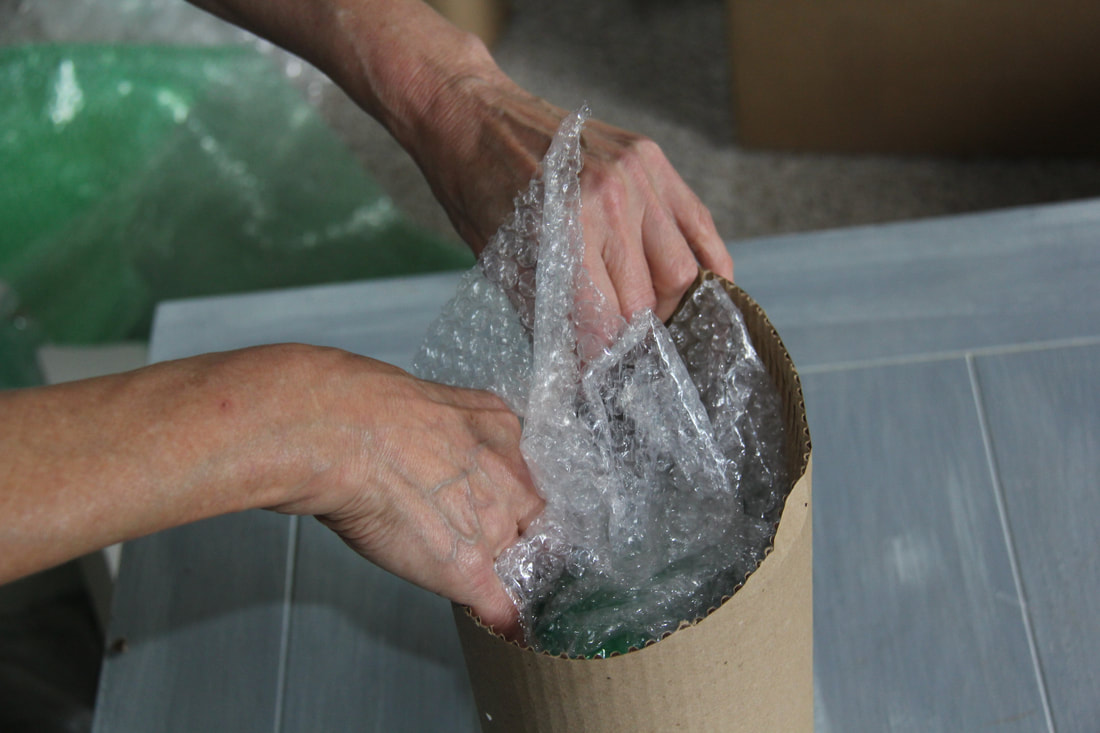
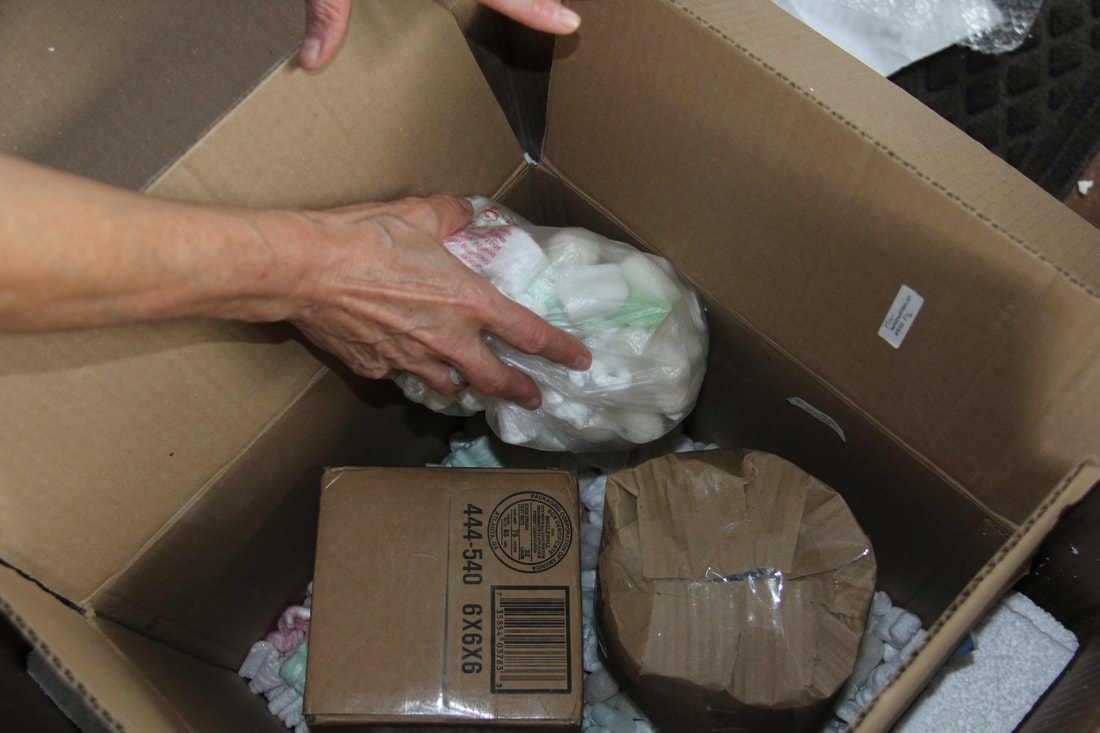
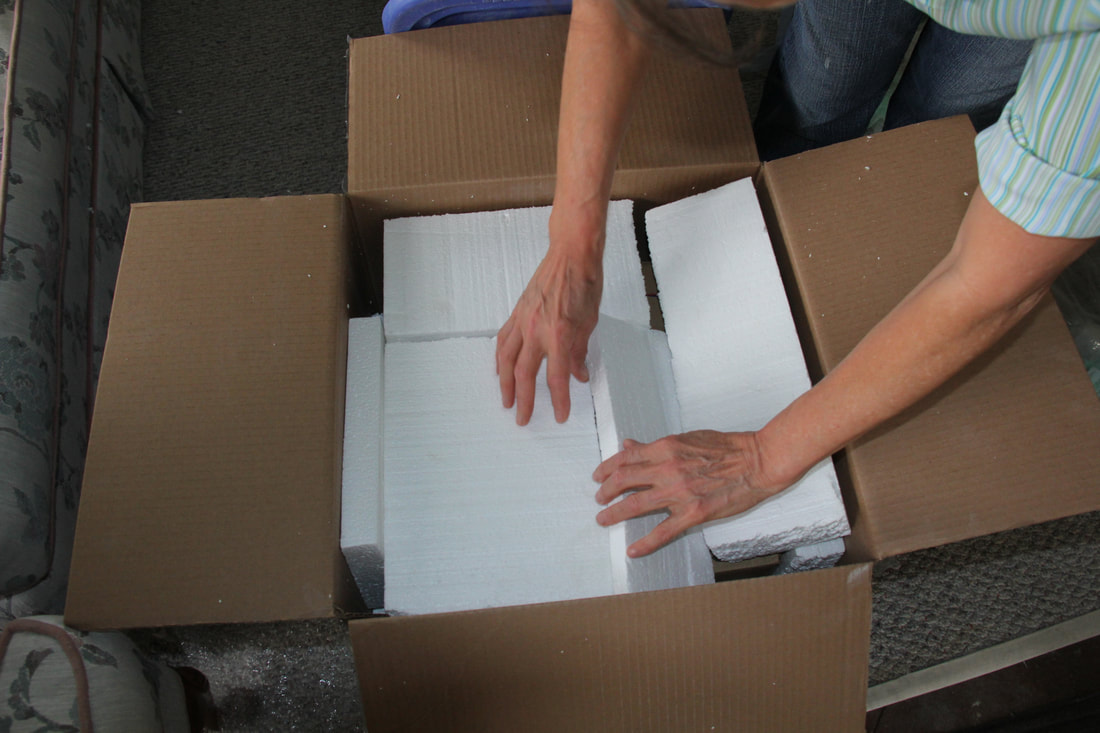
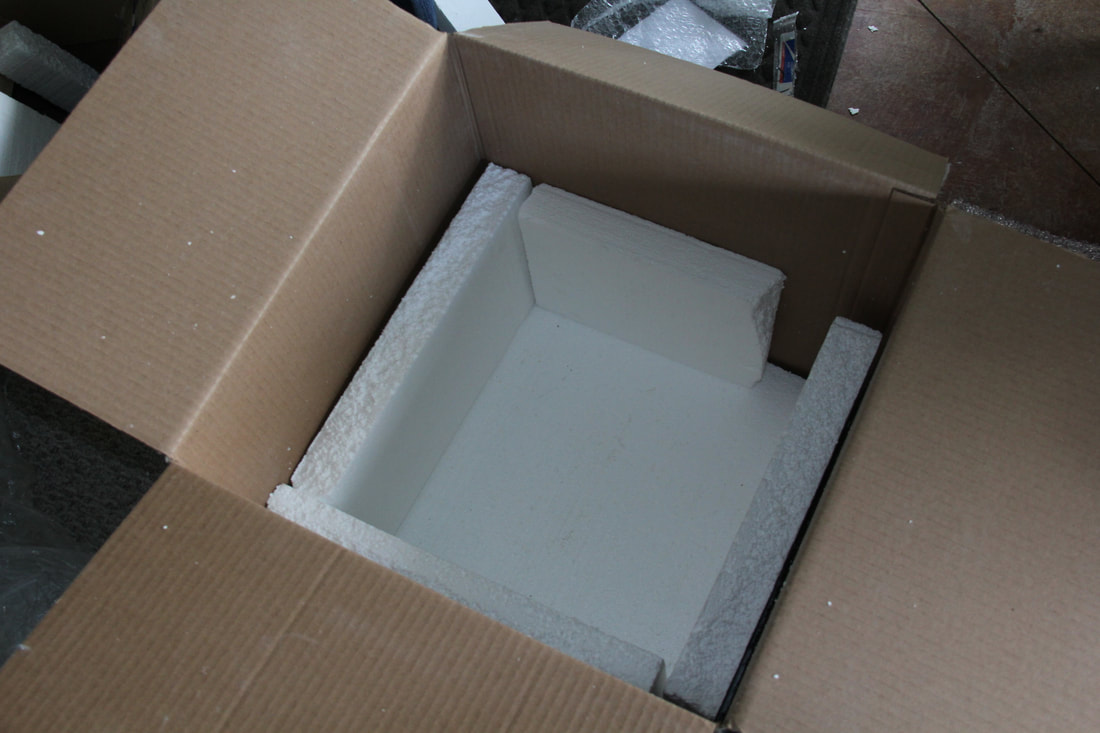 Strengthen the box with Styrofoam sheets | People often ask me how do I ship my fine translucent porcelain to galleries and clients without damage in transit. Well, I had my fair share of broken pieces in my lifetime of creating pottery, so I would like to share some of the things that I have learned over the years with you. I use the double boxing method. Start by lining a sturdy box with Styrofoam sheets. An alternative is regular upholstery foam or Styrofoam peanuts. When the option of peanuts is used, line the bottom of the box, place the second box in place and fill the voids up with Styrofoam peanuts. |
Start by lining a sturdy box with Styrofoam sheets.
An alternative is regular upholstery foam or Styrofoam peanuts. When the option of peanuts is used, line the bottom of the box, place the second box in place and fill the voids up with Styrofoam peanuts.
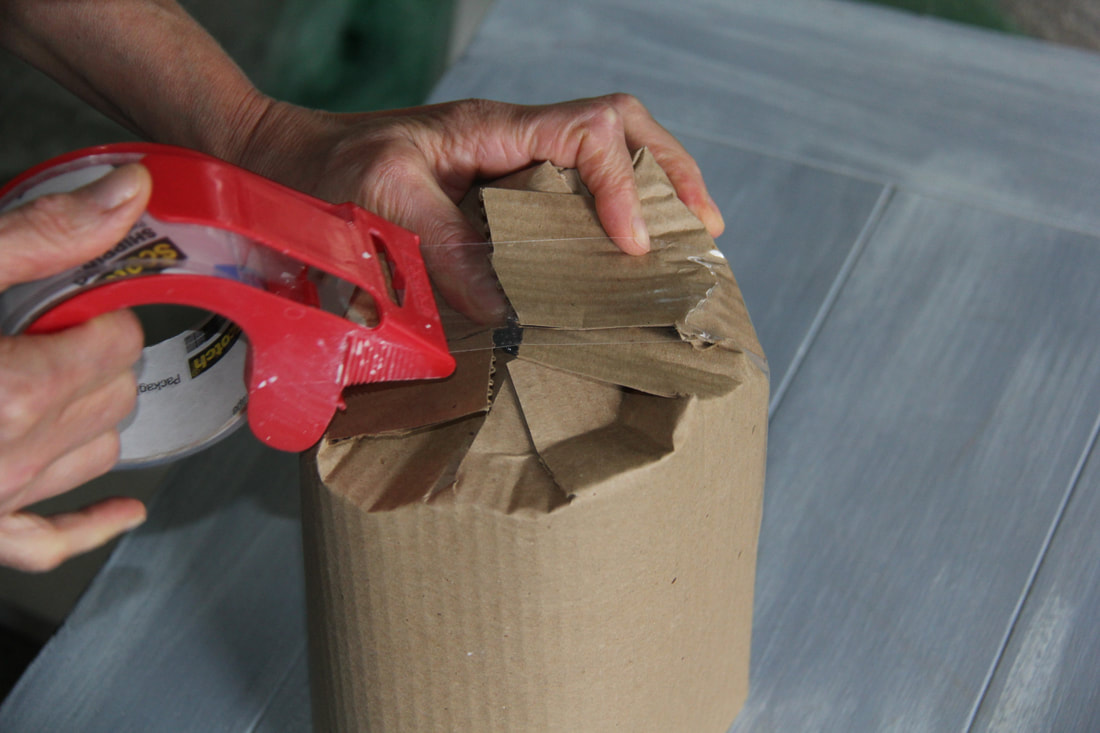
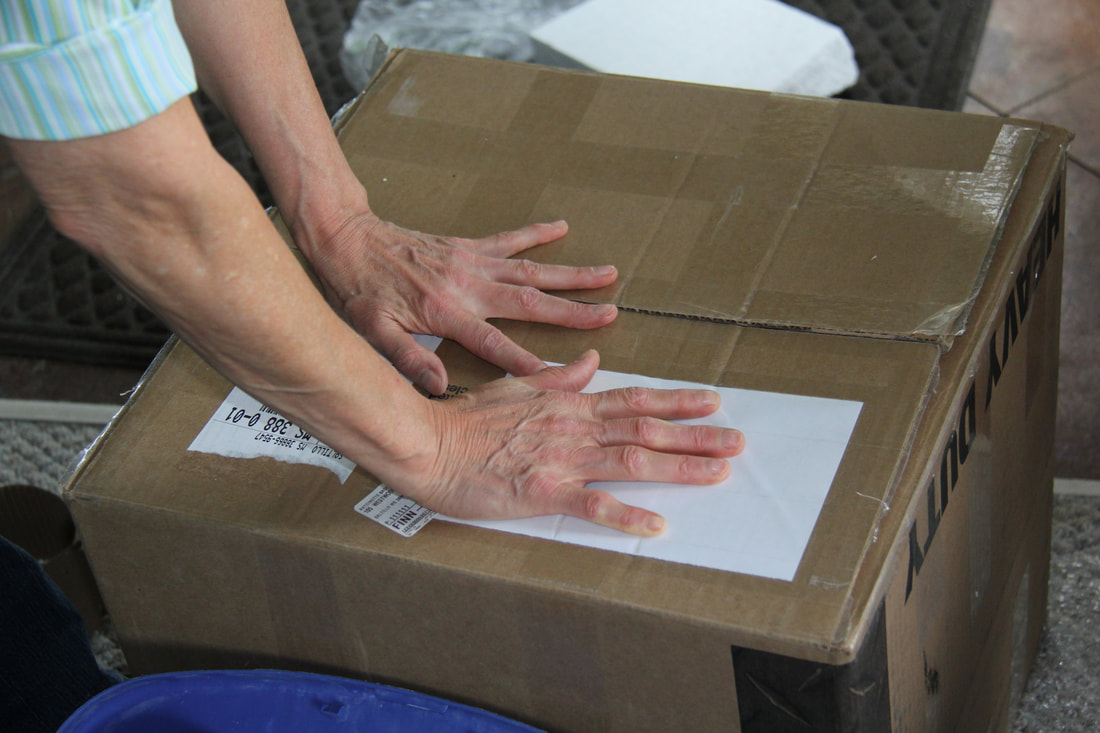
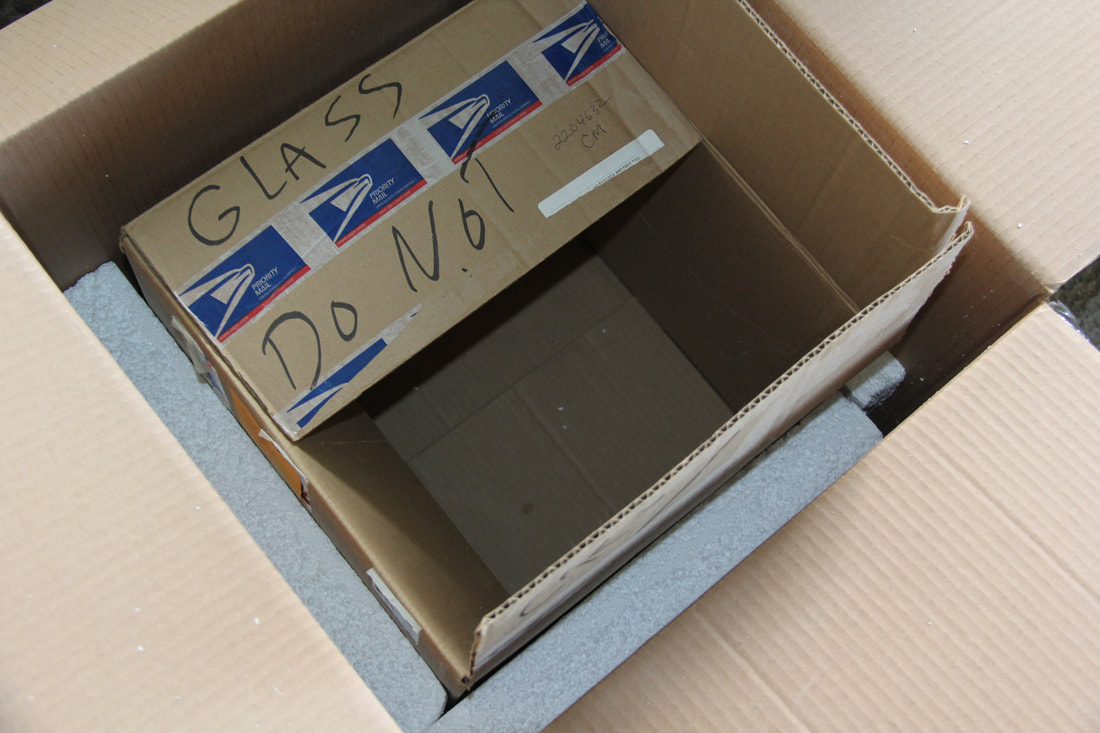 Double boxing is the standard to ship artwork.
 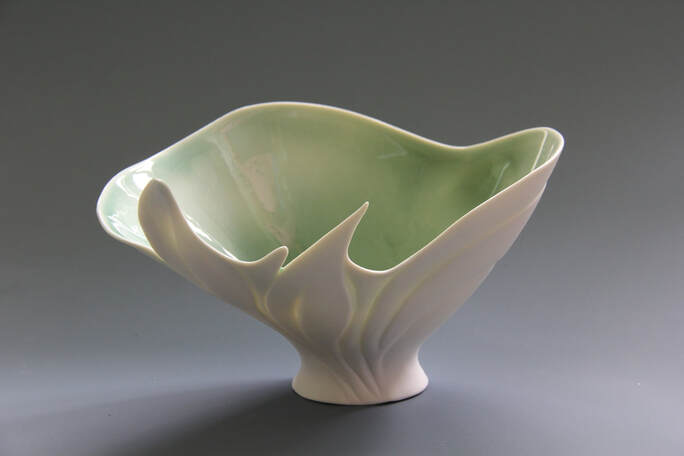 Available in the shop. Click on the image to see it there. | 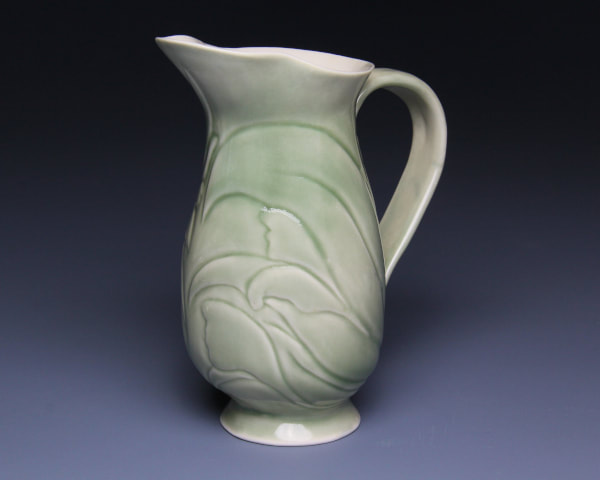 Protect the edges. |
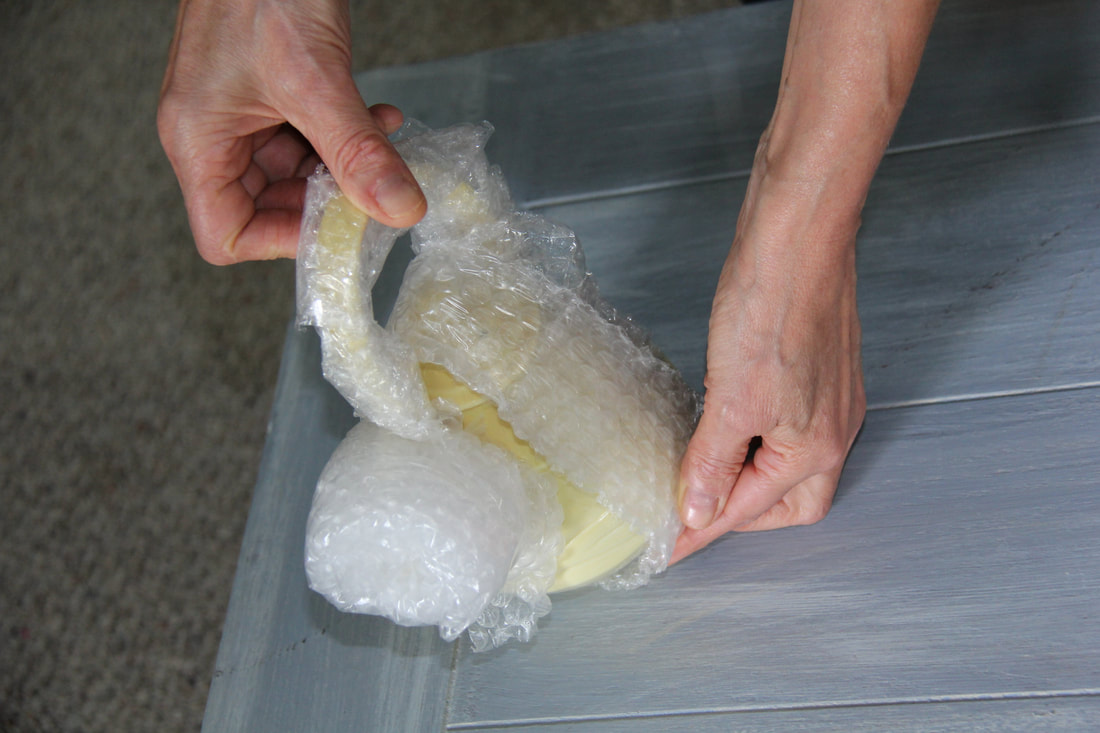
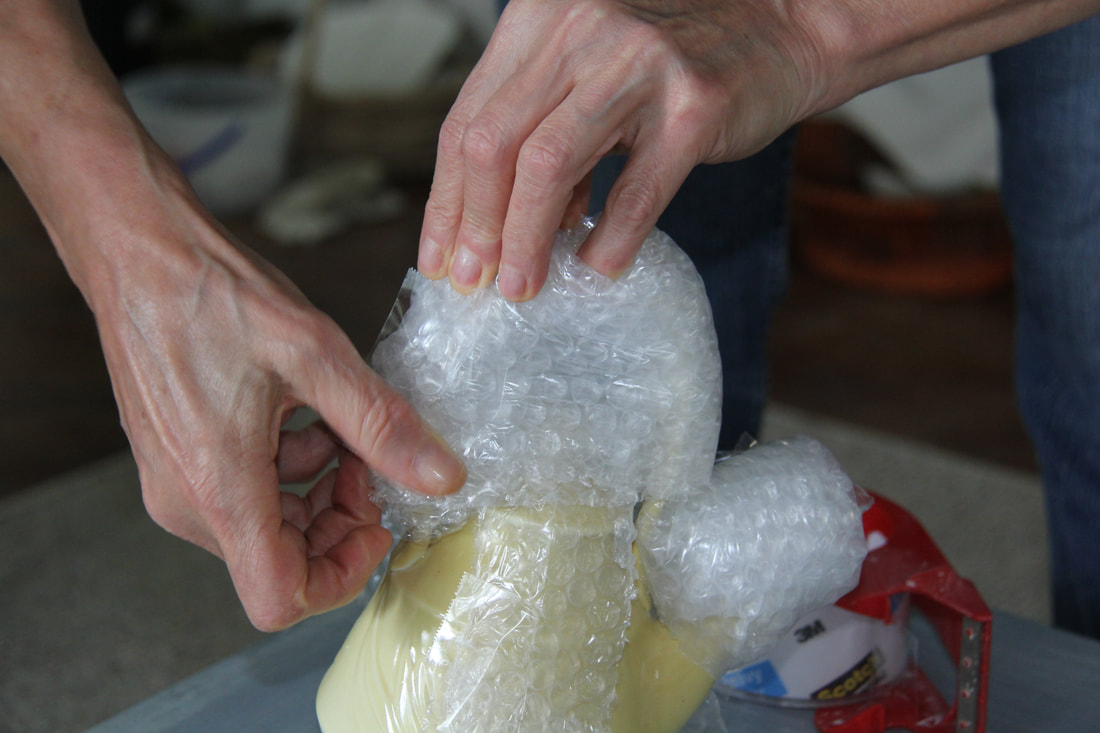
Wrap spouts and handles separately by creating a cushion.
Lids can be packed separately, but from personal experience I like to keep them in place and secure them with bubble wrap and tape on the teapot.
 |  |  |
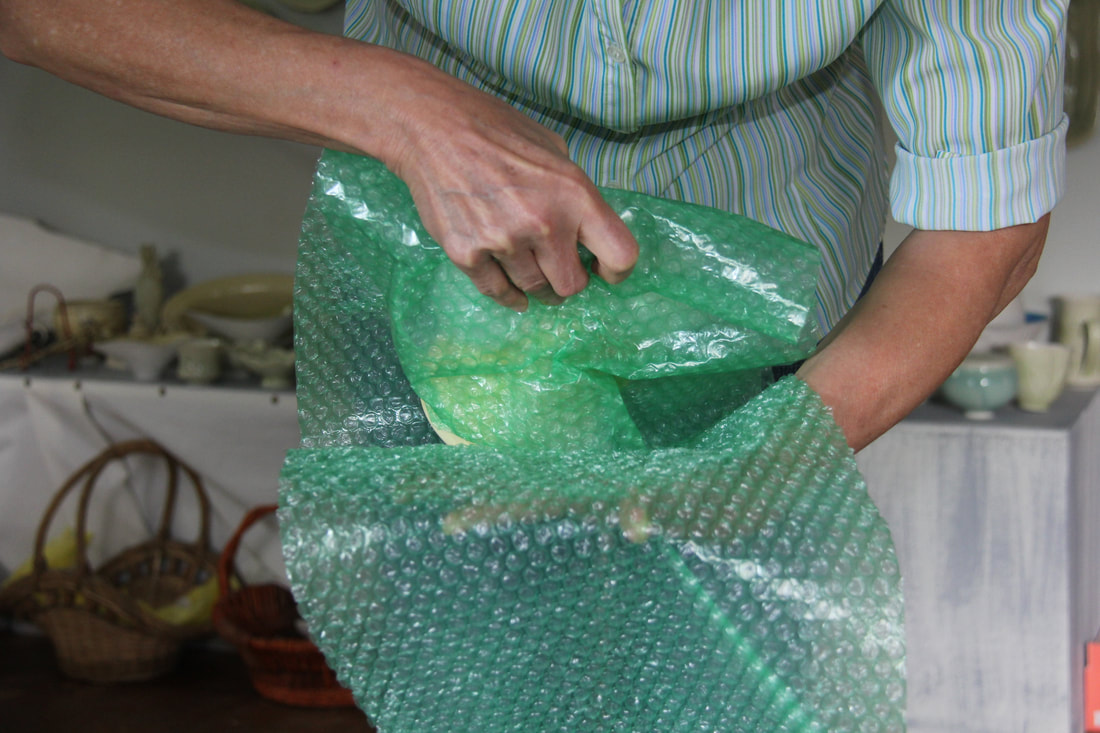 | 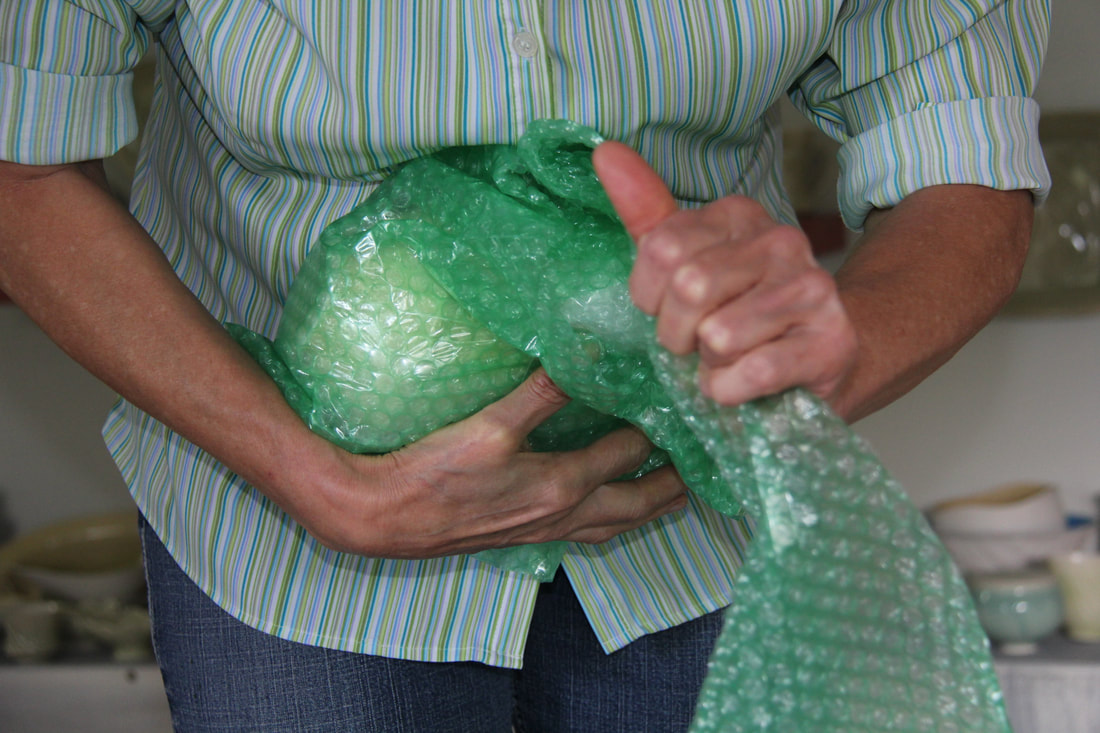 | 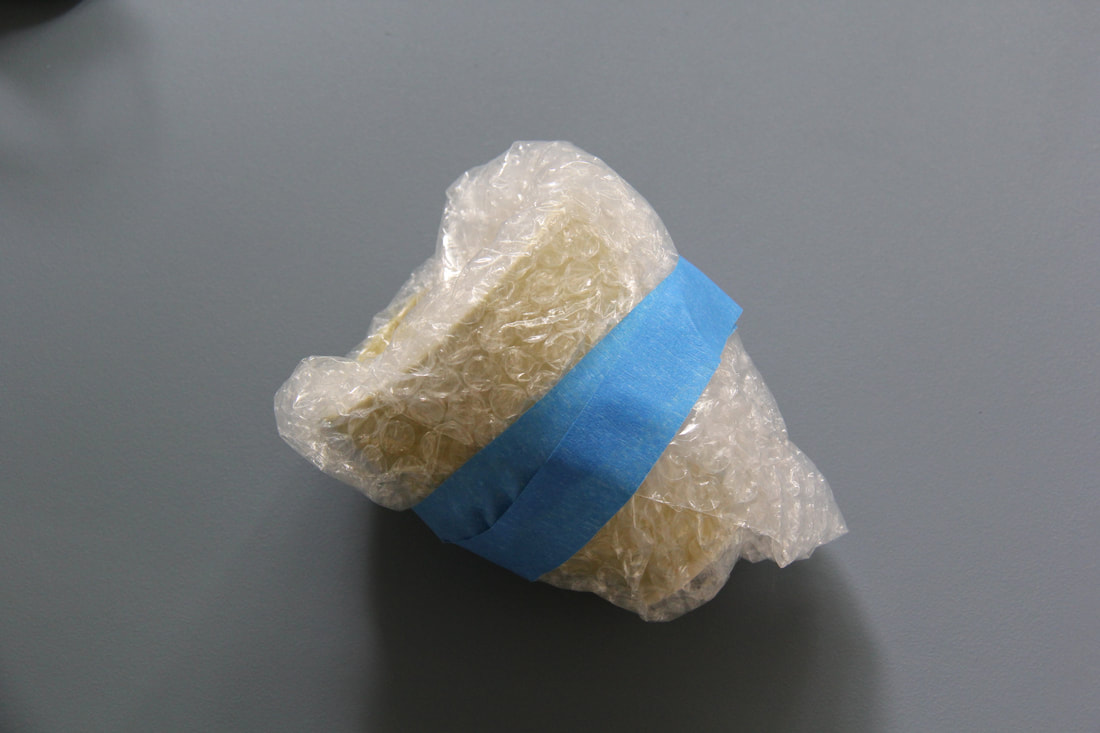 |
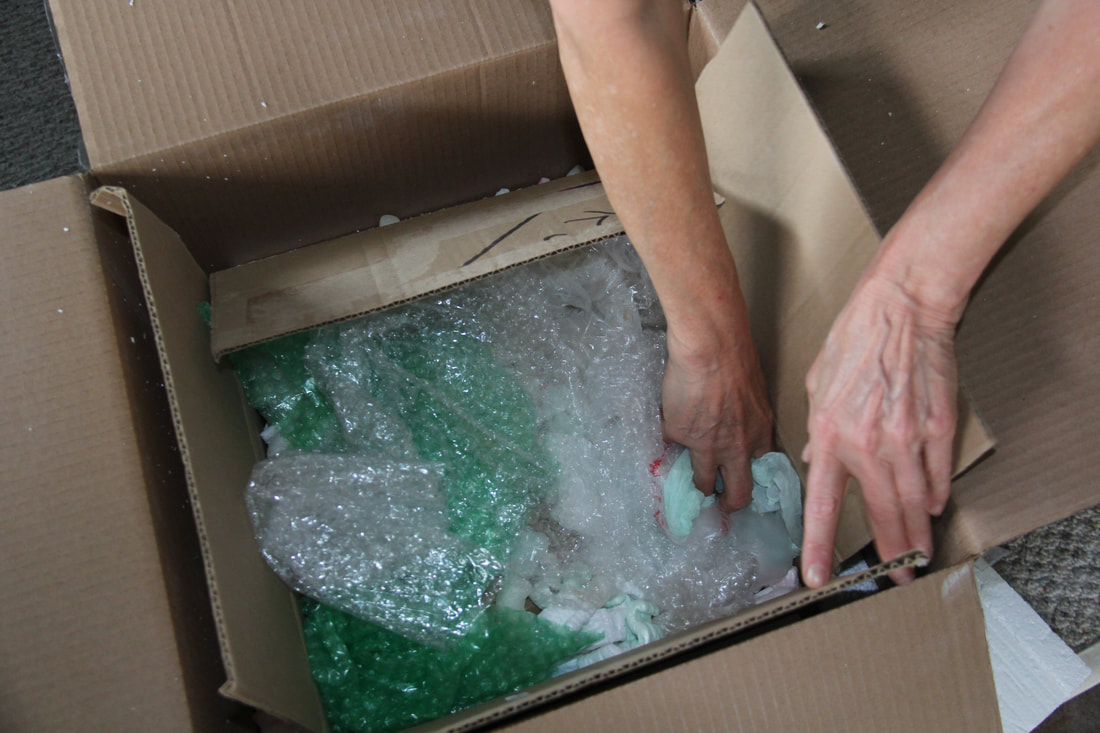
Use a light tacky tape to hold the wrap together. You can also use clingwrap. In that way it is easier to open and safe the bubble wrap for either return packaging or for re-use later.
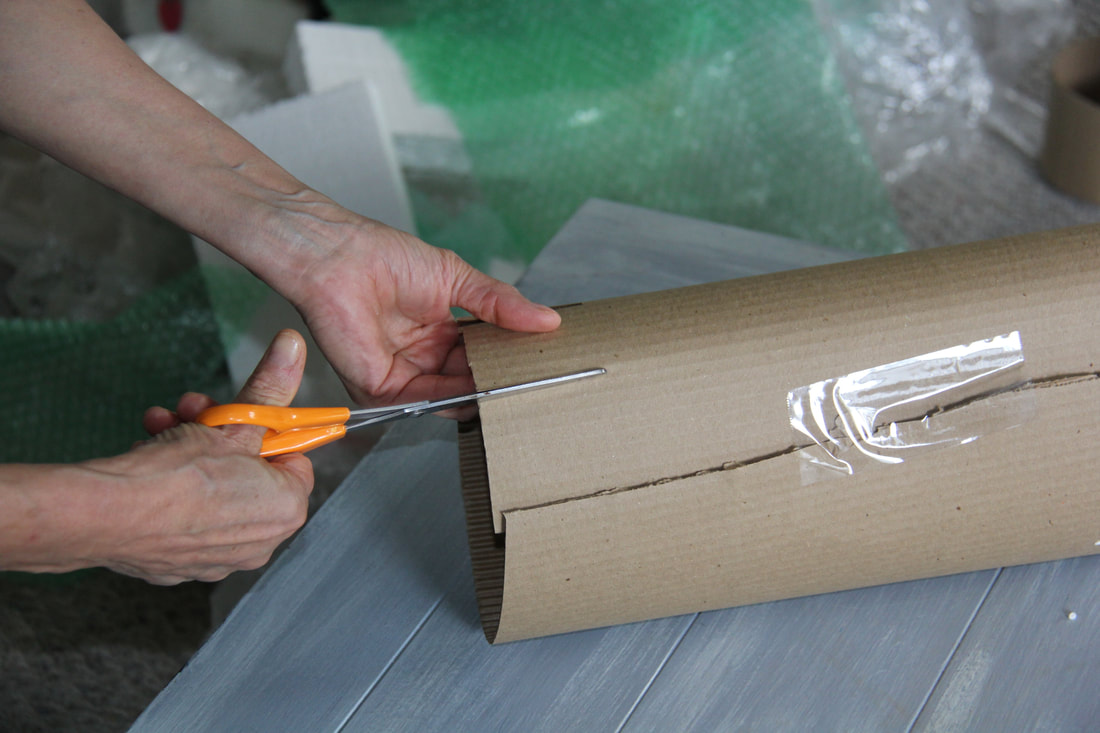
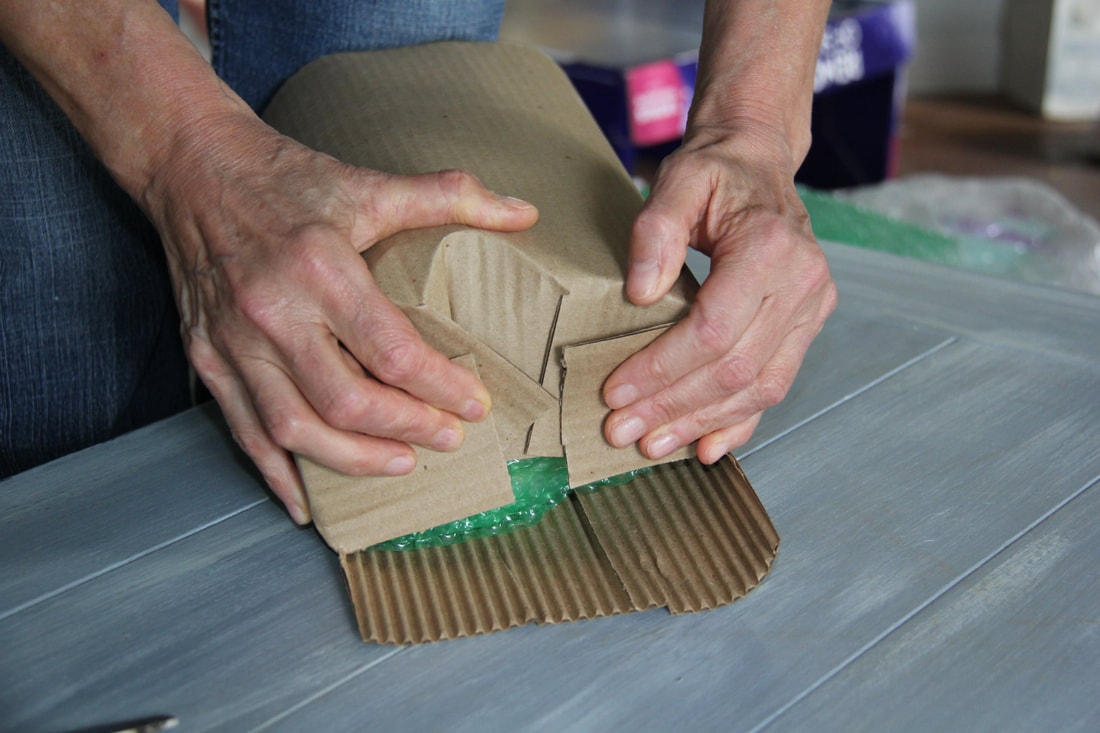
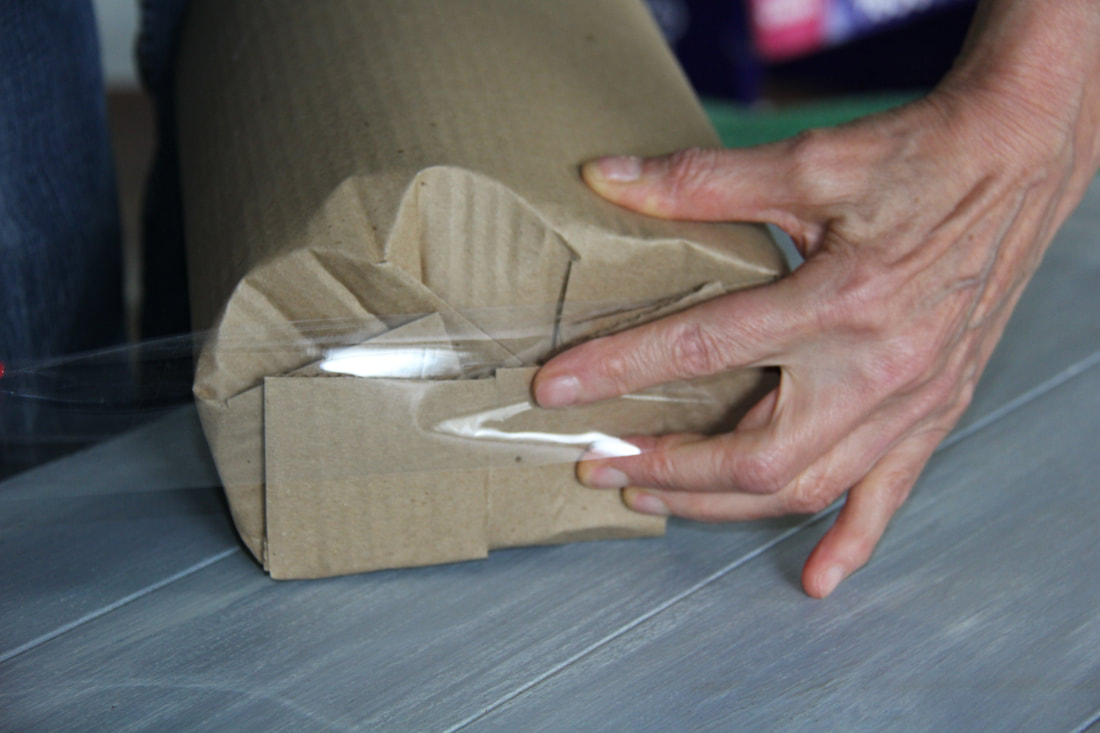
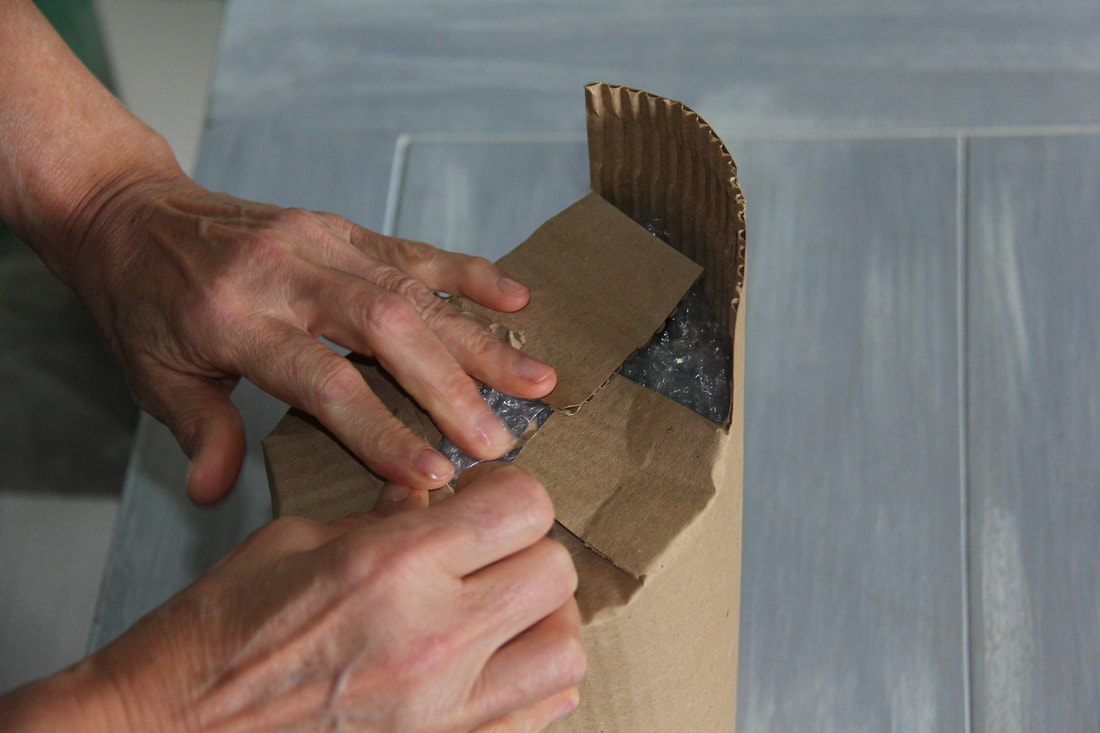
The use of corrugated carton paper
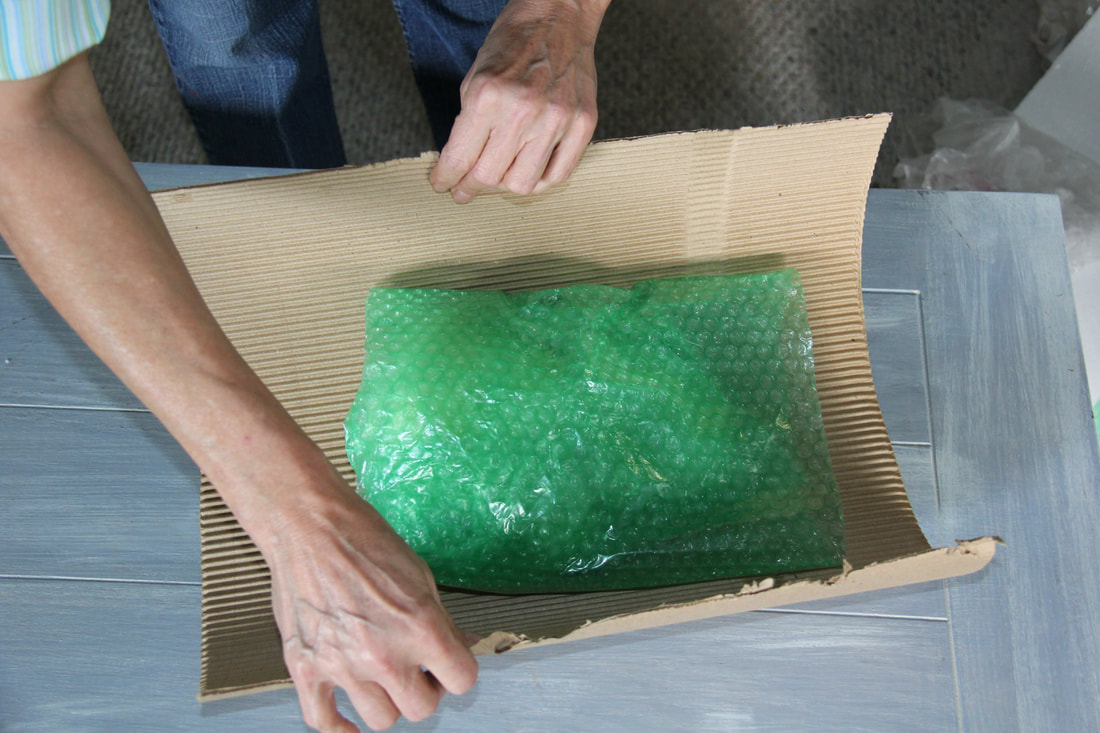 Corrugated carton keep the work sturdy. | This is how I use corrugated paper rolls to create a "box" One of my biggest frustrations in the past was boxes that are either too big or too small. Too small may let your work bulge out of boxes. Too big waste valuable space and money. So when I discovered corrugated wrap roles, I was very happy. That means I can custom box wrap each piece by itself and then place it inside a larger box. Wrap a big enough sheet around the padded object to form a sleeve around the pot. Cut slits in the bottom part of the paper. |
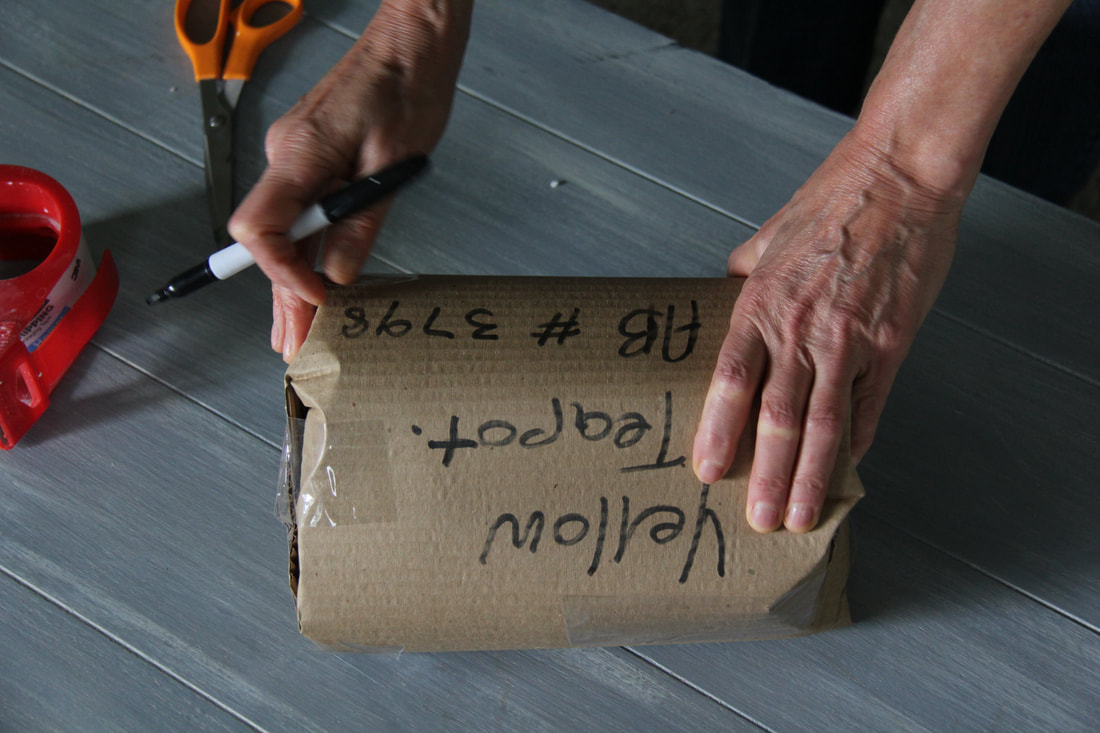
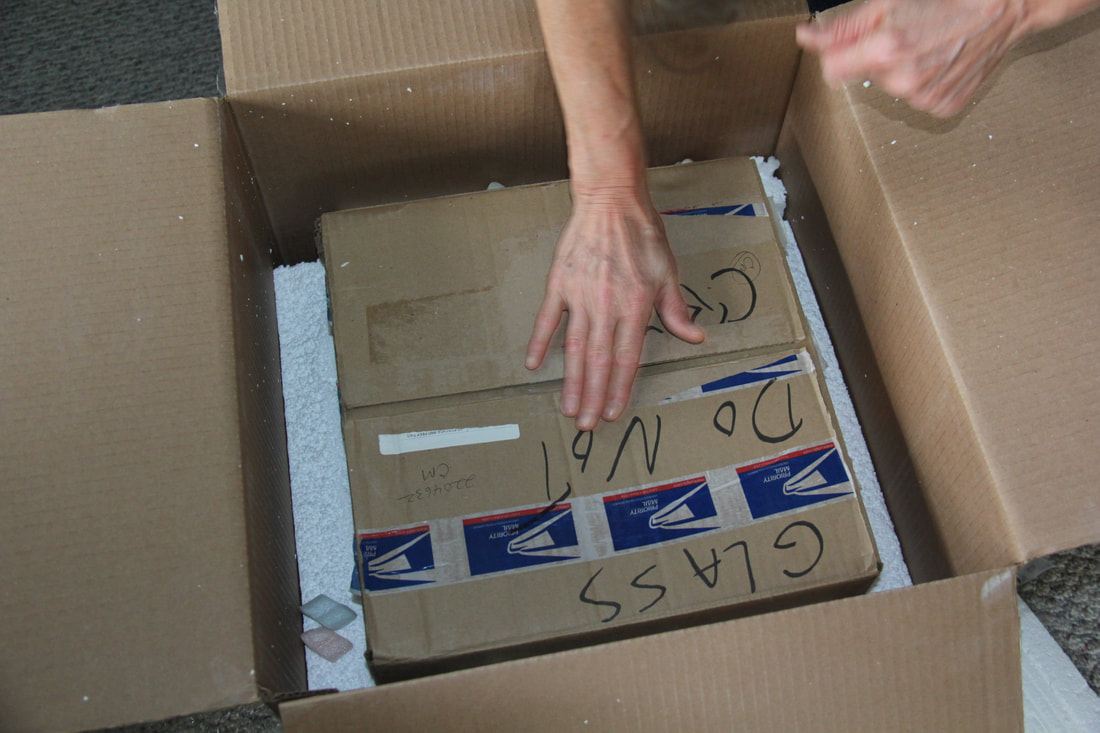
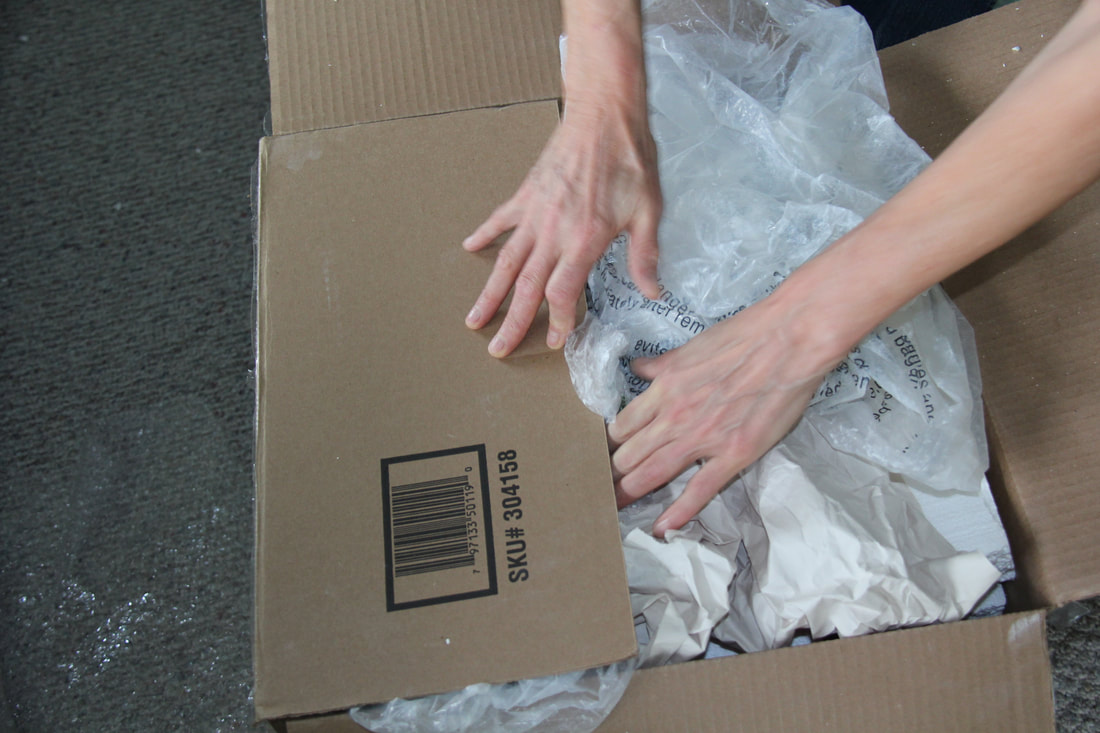
In that way, the sender can double check if everything that is on the invoice is ready to be packed.
The receiver can double check what is received, but in case of work that must later be returned after an exhibition, the same packaging material can be used again, making it easier to pack the piece in a custom made packaging, and also to check if everything that was sent out, is received back in good condition.
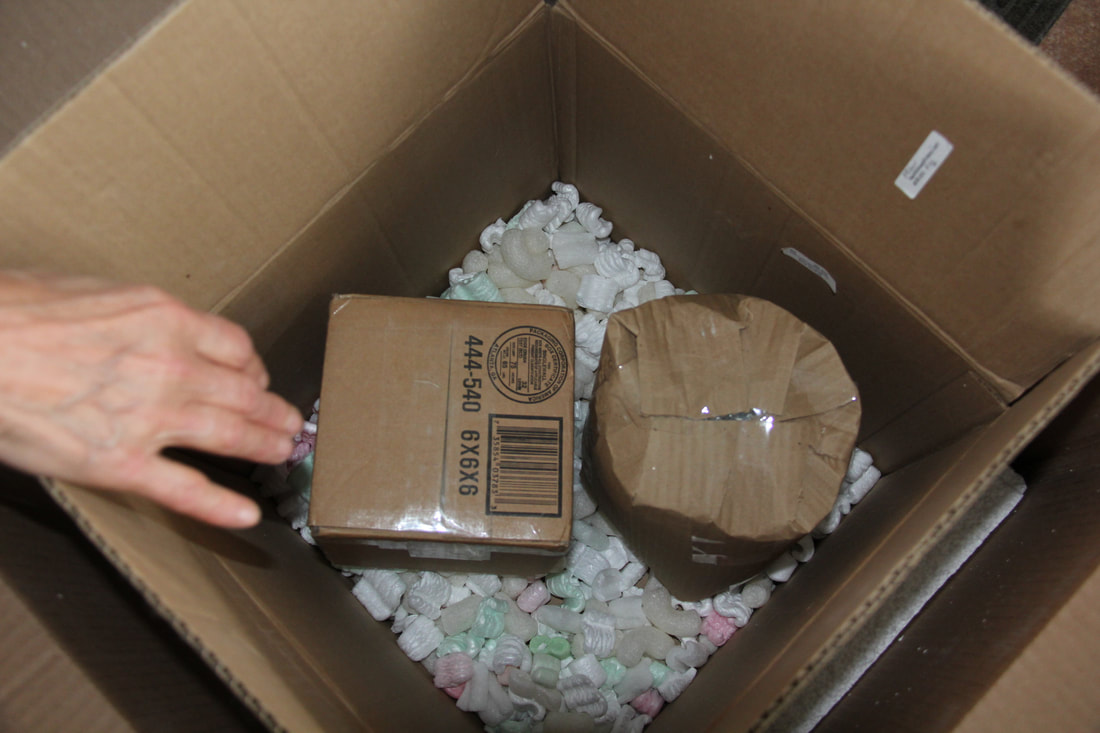
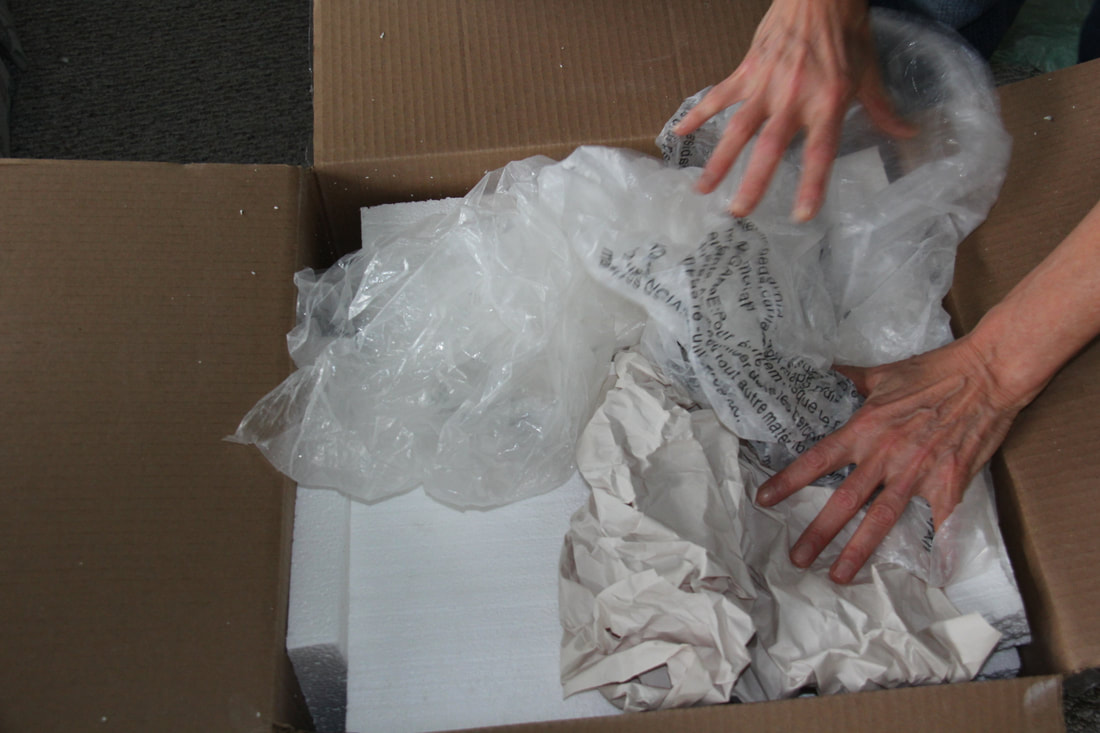
Plastic bags filled with Styrofoam peanuts will help to prevent it from flying around in a gallery.
 |  |
 |  |  |  |  |
I will appreciate it if you share your expertise with packing of valuable objects with me. There are many other types of art work that must be shipped. There are sculptures and other valuables, much heavier objects that must be shipped.
I know that crating artwork and furniture is a complete different topic to cover. Maybe a guest blogger would like to chime in.
It's great to know that upholstery foam can be utilized for additional protection. My sister started an online company selling plate. In order to prevent the plates from breaking during transportation, she wants to find sturdy packing. I'll advise her to purchase the foam insert so she'll have extra protection.
I've got some fragile pottery that I sold, so I need to get it shipped. It makes sense that using the right packing materials would be important. That way, I don't have to worry about my pottery getting knocked around during delivery.
I totally agree when you said that there are areas that would need extra protection like in bowls when their outstanding edges and foot rims. In that case, is going to be helpful for a business if they can use convoluted foam packaging and other recommended protective items who, especially when they sell fragile products. Investing in the best materials for protection will definitely save them from income loss during shipping or transportation.
"I love how you highlighted the importance of packaging design in creating a memorable unboxing experience for customers. It's a great way to enhance brand engagement."
This article is truly inspiring and motivates me to take action towards positive change.
Great Post! If you are in search of handmade products check <a href="https://indegoafrica.org/">Indego Africa</a>.
Only this post proved that any body is not equal you and your level
I totally agree when you said that the packing materials have to be sturdy to prevent any damage to your product. I can imagine how formatubes can be a great material for paper products. And there might be a different material needed for pottery instead.
Usually I never comment on blogs but your article is so convincing that I never stop myself to say something about it. Really helpful.
Great blog post and i love to watch this type of informative . great information and kindly create more blogs . and please also visit to vareesha and buy your fav <a href="https://vareesha.com/collections/cutlery-holders">Cutlery holder for Kitchen</a>
Enjoy the companionship of young and energetic college call girls in noida. Experience fabulous dating, romantic activities, and girlfriend experiences with our delightful ladies in noida. Call 9899869190 now!! Visit here for more information:-https://delhicallgirlservice.in/noida-escorts.html
Why is there a reply giving information about a car girl service still showing on this page. Can’t you get rid of it
Leave a Reply.
Categories
All
Agateware
Arts Integration In Schools
Begin A Pottery Business
Clay Flute
Clay Slabs For Dinnerware
Destruction Of Art Or Creating Art
Figurines
Kilns Suitable For Porcelain
Kitchenware
Mississippi Arts Commission Fellowship Report
Ocarina
Pinching Clay
Porcelain Tips
Porcelain Workshops
Pottery In Pretoria
Salt In The Pitfire
Throwing On The Pottery Wheel.
 RSS Feed